Lessons from the Shipping Industry. Yes, really.

Container Ship

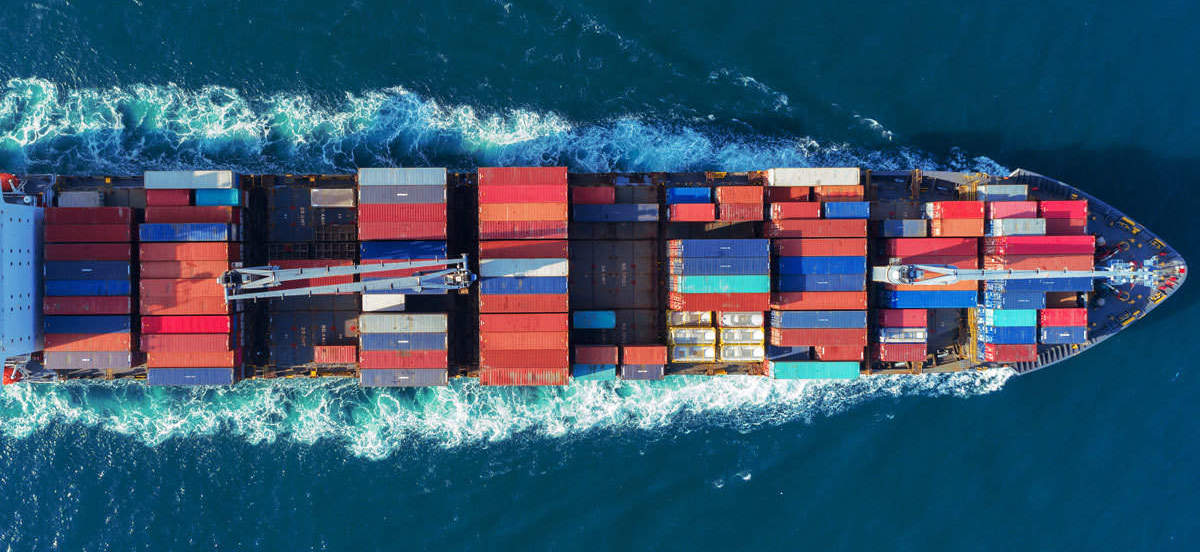
In the 1950’s the ocean freighters were heading into bankruptcy. It was too expensive and slow to move cargo around the world by water. The merchandise waiting at the docks often got spoiled or stolen.

The shipping companies, did what they usually do to lower costs. They fired a lot of people, and focused on making the ships faster, bigger, and more fuel efficient. That worked for a while, but the costs kept increasing and the shipping times didn’t improve substantially.
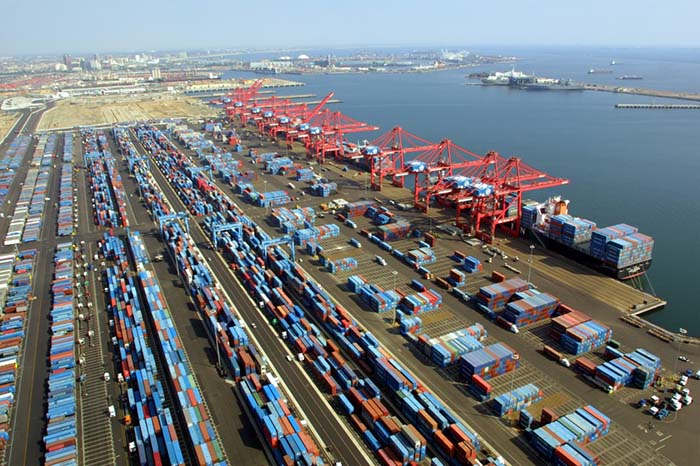
A good idea.

Then, someone had a great idea: What if the cargo could pre-loaded, so when a ship arrived, it would take hours, not days to load and depart? Bingo! The shipping container was born.

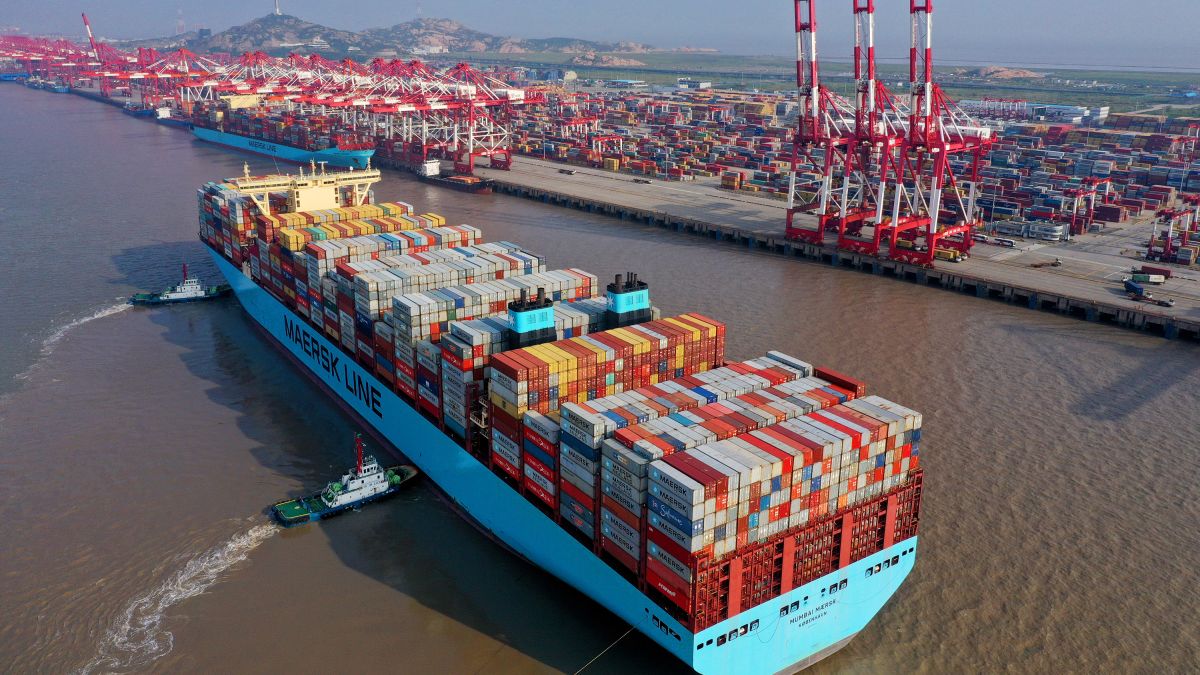
An even better idea.

A few years later, someone else had an even better idea; what if the shipping containers could have all the necessary parts to build a product, and the time from A to B could be utilized to assemble that product? Bingo again!

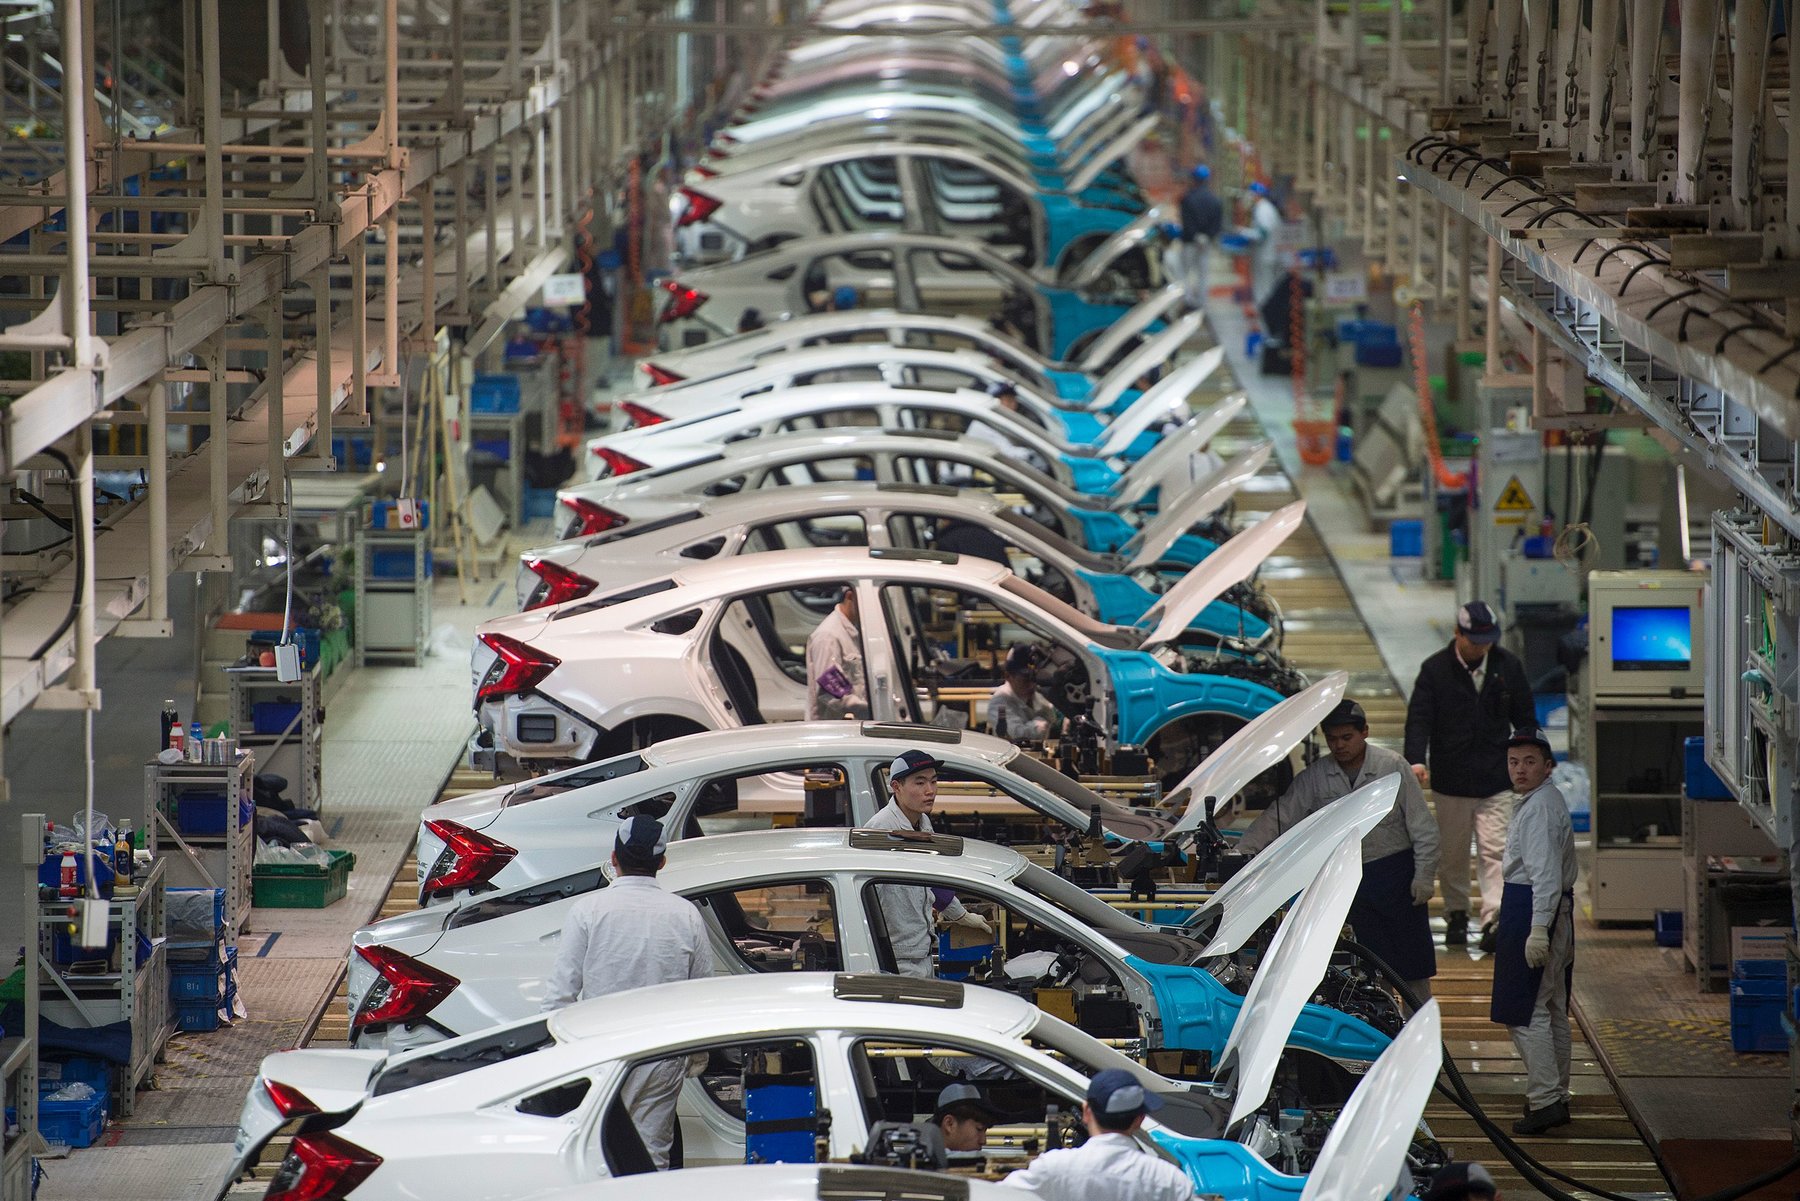
Today, all the necessary parts to build a car are loaded into a shipping container. The ship arrives, loads, and departs. While in transit, the cars are built. Three weeks later, when the ship arrives to its destination, complete cars get off to the dock and the empty containers are replaced with fully loaded ones. Brilliant.

Now, how can we possibly apply a similar approach to video productions?

I’ve spent a lot of time thinking about this challenge. The first step is to identify the most complex or time consuming processes, and then find ways to simplify them down to the least amount of gear and steps.

So buying a faster computer, a larger monitor or hiring a faster editor are just temporary solutions. What if we could blend some pre-production and productions steps? Even better, what if we could replace post-production all together?

This is a timely issue for me, as this week I am starting pre-production for a new online course for LinkedIn Learning.

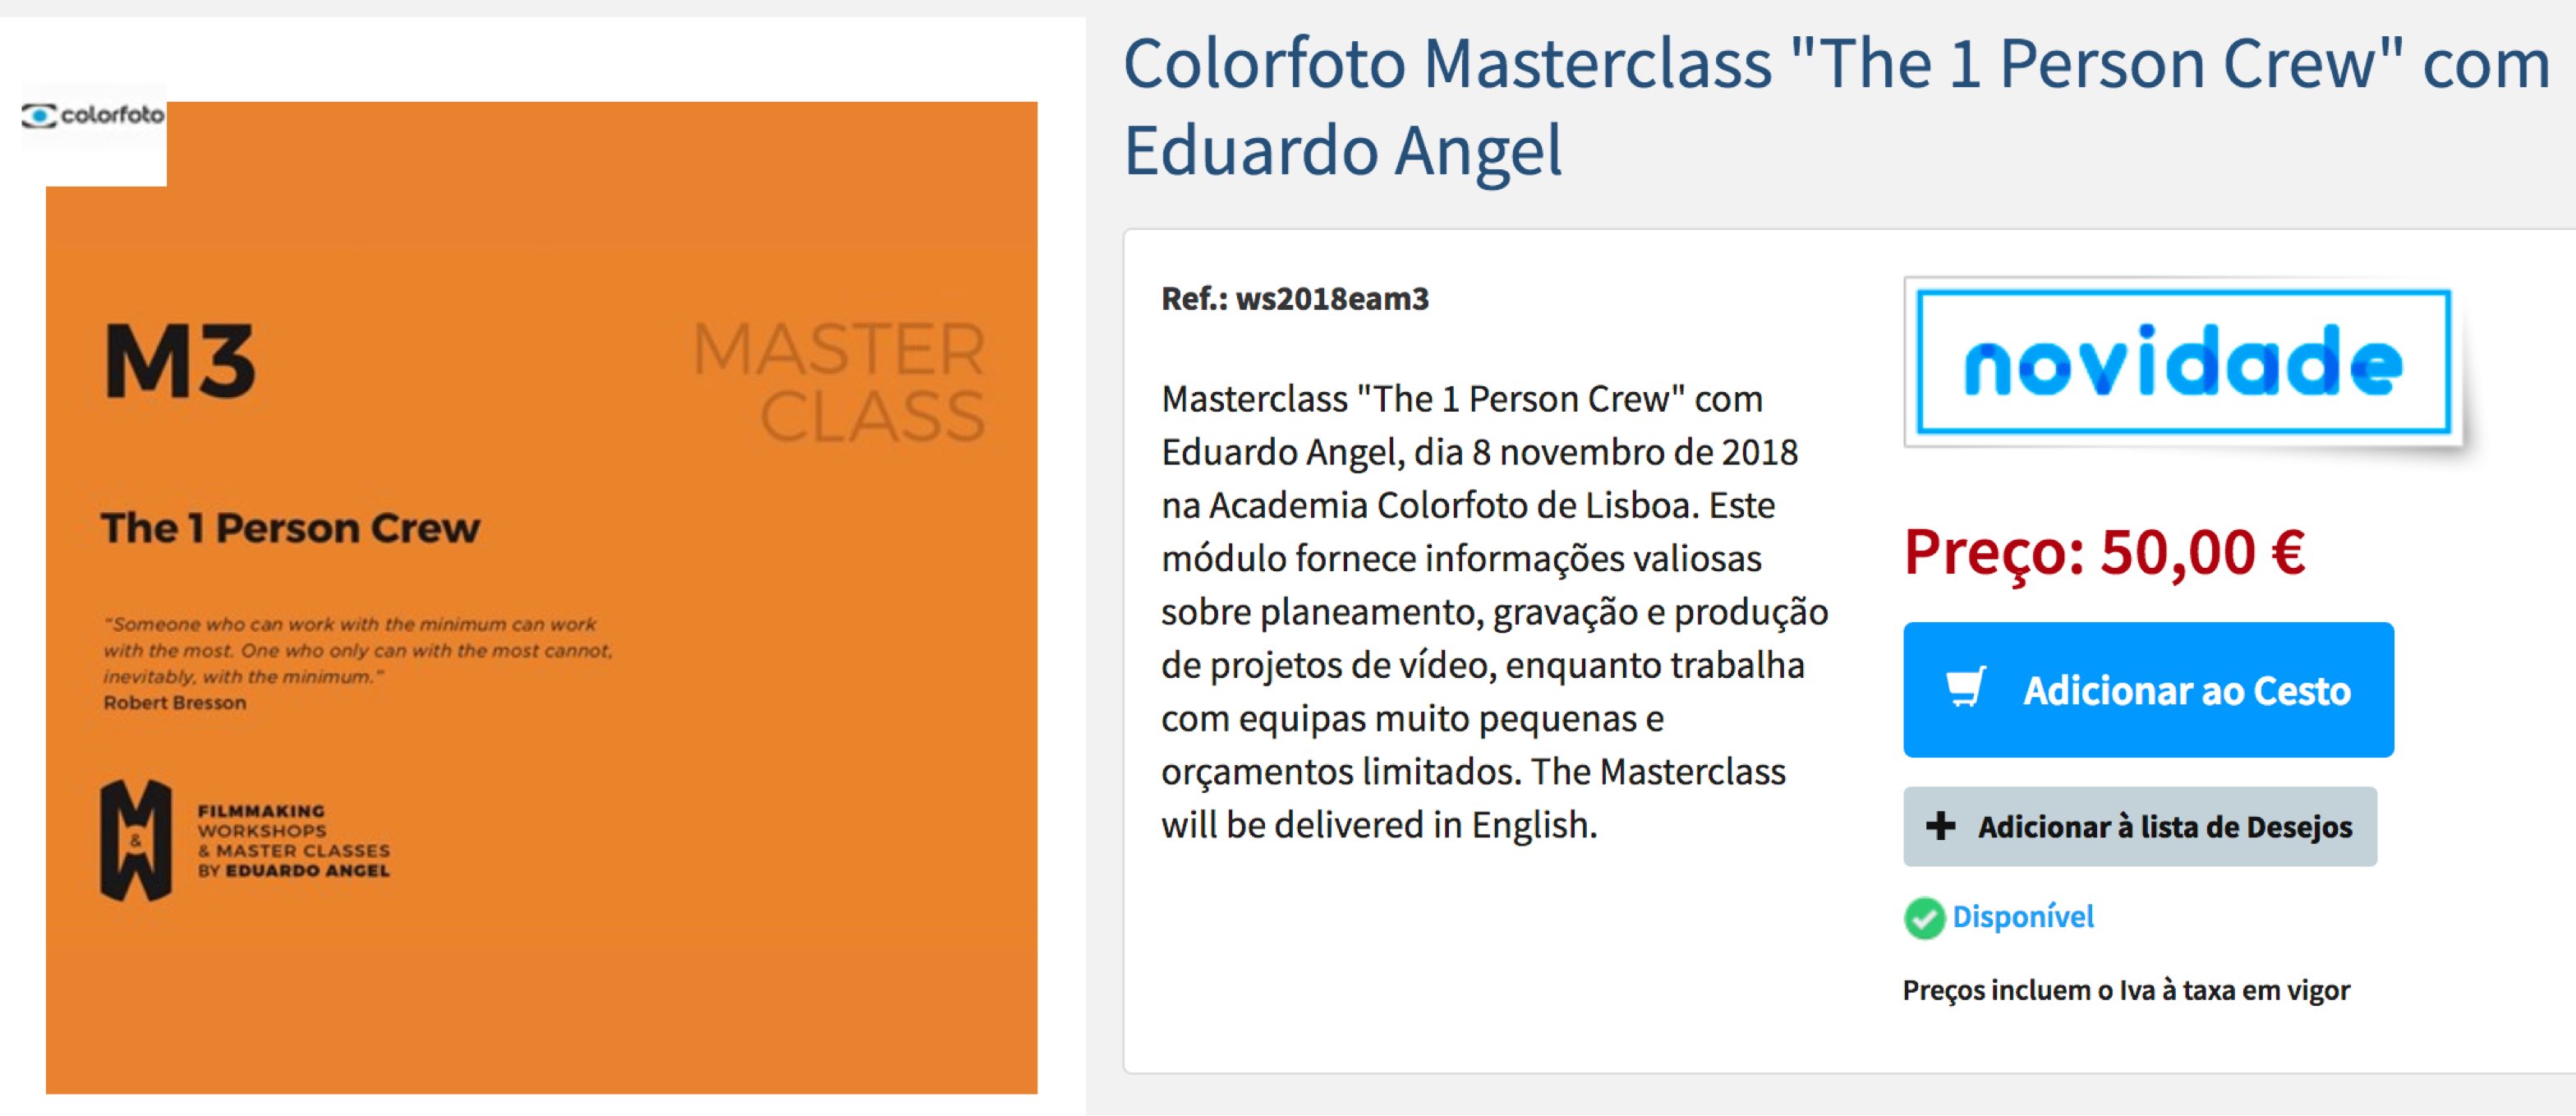
The topic will the “1 Person Crew productions.” I’m used to travel and work alone, but for this course, for the bar has been raised. A lot. I need to find ways to do everything myself: shoot the story, capture behind the scenes footage, and produce valuable educational content, essentially at the same time. I’ll be producing short-form documentaries with real people in active locations, so I need to be respectful of their time. Not an easy challenge, but a very exciting one.

How am I going to pull this off?

I don’t know (yet).

My wife insists that a Vlog, could be a great way to document and share some of the ideas, tests, and challenges I’m dealing with in preparation to the 1 Person Crew online course.

I’m not so sure. I’m not young enough or thin enough to start vlogging. Even worse, I don’t have a mustache and I don’t wear tiny hats or striped shirts.

If (with an IF the size of a billboard) I go this route, I’d like to keep everything as RAW as possible, in other words, people would see my unmade bed, unshaven face, a crazy collection of cables, and a very unorthodox, but effective, workflow.

Why would I even consider doing this? I honestly believe that anyone interested or involved in run and gun scenarios (documentary, education, weddings, corporate, red carpet premieres, product launches, sporting events, music videos and even short films) will get something useful from my experiments (and public suffering). Let’s see. I might test the idea this week and see what happens.

Here’s an article, and a couple of related books, in case you want to know more. The “Minimalism” documentary is also worth watching because these people TRULY live with the bare essentials.

Sign up below to make sure you don’t miss upcoming posts and tutorials.

SOCIAL
YouTube: 1PersonCrew
Instagram: @1PersonCrew

[jetpack_subscription_form show_only_email_and_button=”true” custom_background_button_color=”undefined” custom_text_button_color=”undefined” submit_button_text=”Subscribe” submit_button_classes=”undefined” show_subscribers_total=”false” ]

Demystifying Recording Options on the Panasonic GH5.


When working as a 1 Person Crew we have plenty of things to worry about. Here are some underused tricks I use to save lots of time and minimize potentially fatal mistakes.

First, let’s face it. I’m a geek. I am one of the very few people who not only READ instruction manuals, but actually ENJOY doing so. Done. My public confession is out.

I have used way too many cameras (just ask my accountant, my wife or simply check the screenshot below). My current favorites for documentary work and short films are the Sony FS7 and Canon C200 (respectively) 

I also have been using the Panasonic Lumix line since the GH3, not only for their small form factor, portability, and image quality, but also because of their incredible versatility. You could adapt a Panasonic Lumix GH4 or GH5 to virtually any existing workflow, be it AVCHD, MP4, MOV, HD, 4K or Cinema 4K. That’s incredible!

Screenshot from the Panasonic GH5 Manual.

Recording Options on the Panasonic GH5.

Today’s article is about choosing the right settings for a specific project. I usually bring at least two cameras on every assignment. I like to save identical settings on them, so when I turn the cameras on, they match exactly, every time. This saves a tremendous amount of time and minimizes potential mistakes.

Here are more screenshots from the Panasonic GH5 Manual, which seems perfectly designed to scare people away. The charts do not reflect the most recent firmware version (v2.3) for the Panasonic GH5.

My Ultra Geeky Approach

I did something only a super geek would do. Made a pot of coffee, opened Excel, and with my camera on hand re-organized Panasonic’s charts in a friendlier and more useful way.

As you can see on the far-right column, I also added EAC1, EAC2 and EAC3. Those are my Custom Menus saved to each camera so the starting point is always the same.

Note: I prefer to shoot UHD (3840X2160) over Cinema 4K (4096X2160) simply because it is easier to incorporate into HD (1920×1080) projects.

3840/2 = 1920 and 1080/2 = 1080

My Default Modes

Since most of my work ends up on YouTube or Vimeo 30 frames per second is a good starting point.

Doubling the frame rate (30×2) gives us a good starting point for your shutter speed, which is set at 1/60th of a second.

Ideally we want to extract as much data from the camera’s sensor as possible, so I choose 422 10-Bit.

VLog (similar to S-Log on Sony, C-Log on Canon, and very recently N-Log for Nikon) is set my default camera profile, so I have more room to enhance the story through color. Keep in mind that I only go this route if I know I’ll have enough time for post-production, otherwise I’d chose the “default” camera profile and call it a day. 

Upcoming “1 Person Crew” Master Class in Lisbon, Portugal. Come join us!

VLog has a minimum ISO of 400, so that’s that. An aperture of f5.6 is a nice starting point, as well as 5600 Kelvin for my White Balance.

EC2 is my Camera Setting for shooting on Gimbals and I use EC3 when I want/need to shoot at 60 frames per second and play with the footage in post. Here’s another post on Camera Movement.

The cool thing about this approach is that I can save my custom settings and import them into another Panasonic GH5 (running the same firmware version), without having to select every single option again.

Here’s how to perform that magic trick:

Working as a 1 Person Crew we constantly worry about audio, framing, exposure, directing and when to replace the batteries.  Anything we can do to save time and avoid potentially fatal mistakes is key. Saving Custom Camera profiles is in my opinion an underused but awesome trick. Enjoy!