Businesses of all sizes need better ways to offer their products and services to the world, and video is clearly the new language of brand communication. Learn how to plan a multi-camera production, increase production value through camera movement, and create cinematic lighting on a budget. Plus, get tips for adding great music and sound effects, saving time and money in post-production, and more!
All the video gear featured on (and used to produce) this course is available here.
Some links might be affiliates. If you purchase gear with them, I might receive a small commission at no additional cost to you. Thanks in advance for your support!
Questions?
Feel free to ask any questions regarding this course (on anything else) on Instagram.
From planning a shoot to DIY lighting solutions, learn how to produce professional videos with very little gear, tight deadlines, shoestring budgets, andno crew.
All the video gear featured on (and used to produce) this course is available here.
Some links might be affiliates. If you purchase gear with them, I might receive a small commission at no additional cost to you. Thanks in advance for your support!
Questions?
Feel free to ask any questions regarding this course (on anything else) on Instagram.
I’m very thankful with Benro for putting together a webinar to discuss the 1PersonCrew Approach. The host was my dear friend Matt Hill, who is not only an awesome guy, but also a multi-talented artist in his own right. Matt’s project with handmade paper dresses and long-exposure portraiture is jaw-dropping.
I hope attendees found the webinar fun and and helpful. In case you missed it (or want to rewatch it) here’s the full recording. Feel free to leave comments and questions below, or hit me on Instagram.
I created three lists to share my favorite tools; one for the travel filmmaker who’s priority is size and weight. The second gear list is for those who are getting started or are looking to add new/better tools. And the third list is for more experienced filmmakers who want to take their productions to the next level.
Here’s the third gear configuration I’d suggest:
The Cinematic Look
This list is for people who already own the essential tools, but want to increase the quality of their video productions. A cinema camera and lenses, additional lighting tools, and better audio gear are included.
The “Cinematic Look” is what I’ve used for high-end corporate gigs, music videos, and even short films. Not all the items on the list are supposed to be used simultaneously. For example: I’d use the NanLite MixPanel 150 and a PavoTube Kit on most situations, unless shipping gear is required. In that case I’d use the Fiilex kit.
The same goes for lenses. Under controlled and well-planned situations, I prefer to use the Rokinon Cine lenses, but depending on the story, subject and shooting schedule a fast zoom lens might be a better option.
The gear lists are not paid or sponsored by anyone. They reflect my own independent opinion, and the companies and products I use and trust. Some links might be affiliates, which means I may get a few pennies if you decide to purchase something. Thanks in advance for your support!
I created three lists to share my favorite tools; the first equipment guide is for the travel filmmaker who’s priority is size and weight. The second list is for those who are getting started or are looking to add new/better tools. And the third list is for more experienced filmmakers who want to take their productions to the next level.
Here’s my second suggested gear setup:
Up and Running
This list includes the most essential items for people getting started, or who are currently shooting video but want to upgrade some gear. Lenses, mics and lights are fairly typical items. Size and weight are important, but not super critical.
I’d recommend this setup for anyone involved in run and gun scenarios like vlogs, education and training, weddings, red carpet premieres, product launches, sporting events and documentaries.
A typical example for this setup is corporate gigs where I have the luxury to setup one day, shoot multiple interviews for a couple of days, and then take my time packing everything carefully.
The gear lists are not paid or sponsored by anyone. They reflect my own independent opinion, and the companies and products I use and trust. Some links might be affiliates, which means I may get a few pennies if you decide to purchase something. Thanks in advance for your support!
Which camera should I buy? What’s your favorite lens? How many lights do I need? What’s better, a shotgun mic or a lavalier mic?
I don’t know.
These are the kind of questions I get every week, and unfortunately it’s very hard for me to answer them objectively and responsibly. Why? Because I need a lot more info. For example, what’s your budget? Do you have other gear or are you getting started? Are you mostly working on location or in a studio?
The “ideal” gear for a travel filmmaker working alone is completely different than the one required by someone shooting products in a studio environment. A documentary shooter needs a few versatile lenses and works mostly with available light. Someone producing similar content, but as an in-house, full time employee at a corporation can afford more time and gear, especially lights.
As you probably know by now, my approach is “how to do more with less.” My goal is to own as little gear as possible, not only to keep my overhead low, but most importantly to select the gear based on each story, my client’s requirements, and obviously, the available budget.
I created three lists to share my favorite tools; one for the travel filmmaker who’s priority is size and weight. The second list is for those who are getting started or are looking to add new/better tools. And the third list is for more experienced filmmakers who want to take their productions to the next level.
After doing a lot of research and trying multiple options, it’s clear that the best way to keep models, specs and prices always up to date is to host the lists on Amazon.com.
Here’s the first of three kits:
The Travel Kit
This ultra minimalist setup consists of the most essential items I take with me on travel and lifestyle assignments, which is the main bulk of my production work. Travel assignments require extremely light and compact gear that must fit in one backpack, and maximum a carry-on bag.
It doesn’t matter how awesome a piece of gear is, if it’s too big or heavy, I can’t take it with me. On travel assignments most of the work is done with available/natural light and only essential sound (like interviews) is recorded on location.
Some post-production might be performed during the assignment (especially waiting at airports and during long flights). Backup is extremely critical as re-shoots are often impossible.
The gear lists are not paid or sponsored by anyone. They reflect my own independent opinion, and the companies and products I use and trust. Some links might be affiliates, which means I may get a few pennies if you decide to purchase something. Thanks in advance for your support!
For obvious reasons everybody is spending a vast amount of time everyday on Zoom / Meet / Skype / Hangouts / FaceTime / fill in the blank.
And for obvious reasons I’ve been getting a lot of emails that roughly ask the same question “My lighting sucks, I look like a monkey (guys), I look fat (girls), what can I do?”
Well, here’s my 1 Person Crew approach in 5 steps:
Most people choose a spot next to, or worse, in front of a window. I’d suggest picking a location where you can control the amount and quality of the light, so it is the same for your 7AM meeting with Australia and the 10PM meeting with San Francisco. This is especially important for situations where lighting continuity is important, for example if you are creating educational content, webinars, or long interviews.
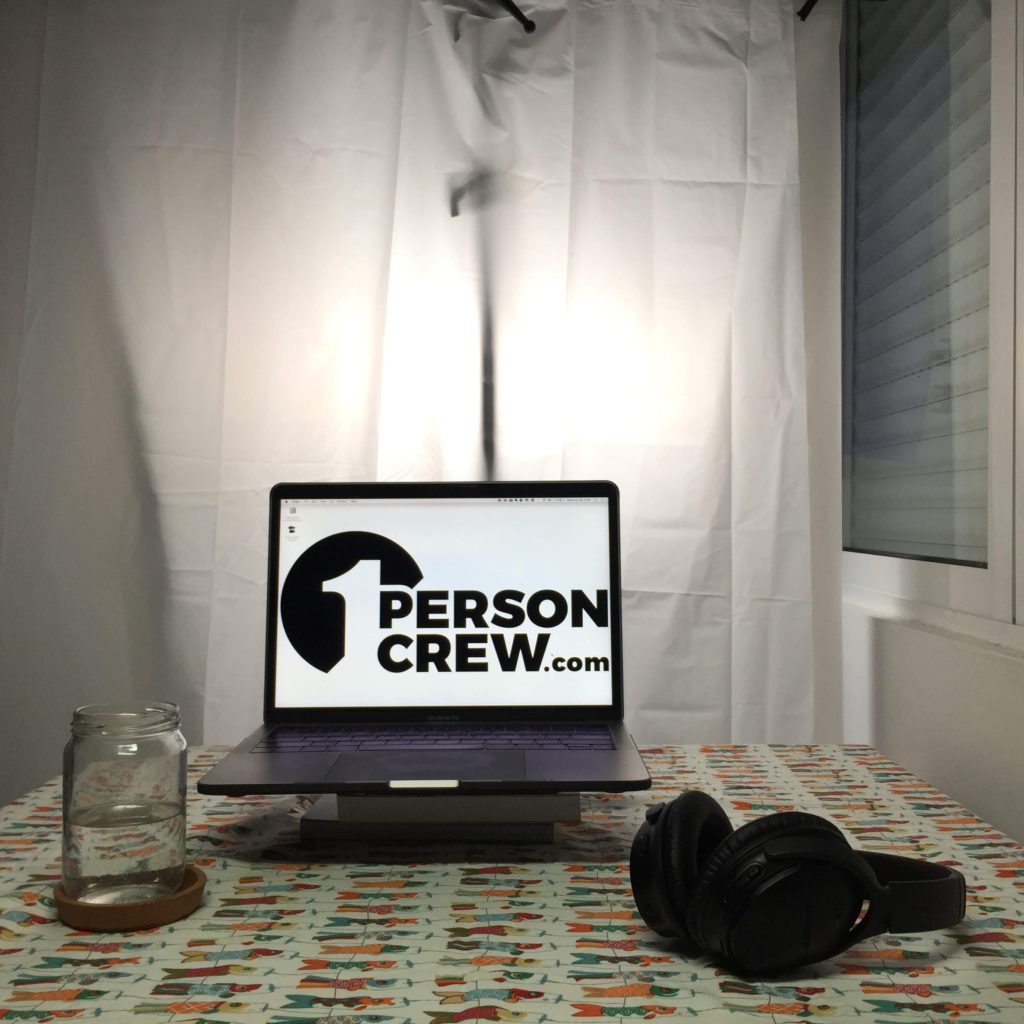
Under normal circumstances, people look better under soft light. “Soft” means that the light “wraps” around the contours of the subject, making the shadows indistinct and gradual in falloff. There are many ways to create soft light, but the easiest and quickest is to diffuse it using professional tools or an Ikea shower curtain for the unbeatable price of $1.99. Bonus Tip: Place the diffusion material as close as possible to the subject as possible, without getting in the frame. With a laptop this is not an issue.
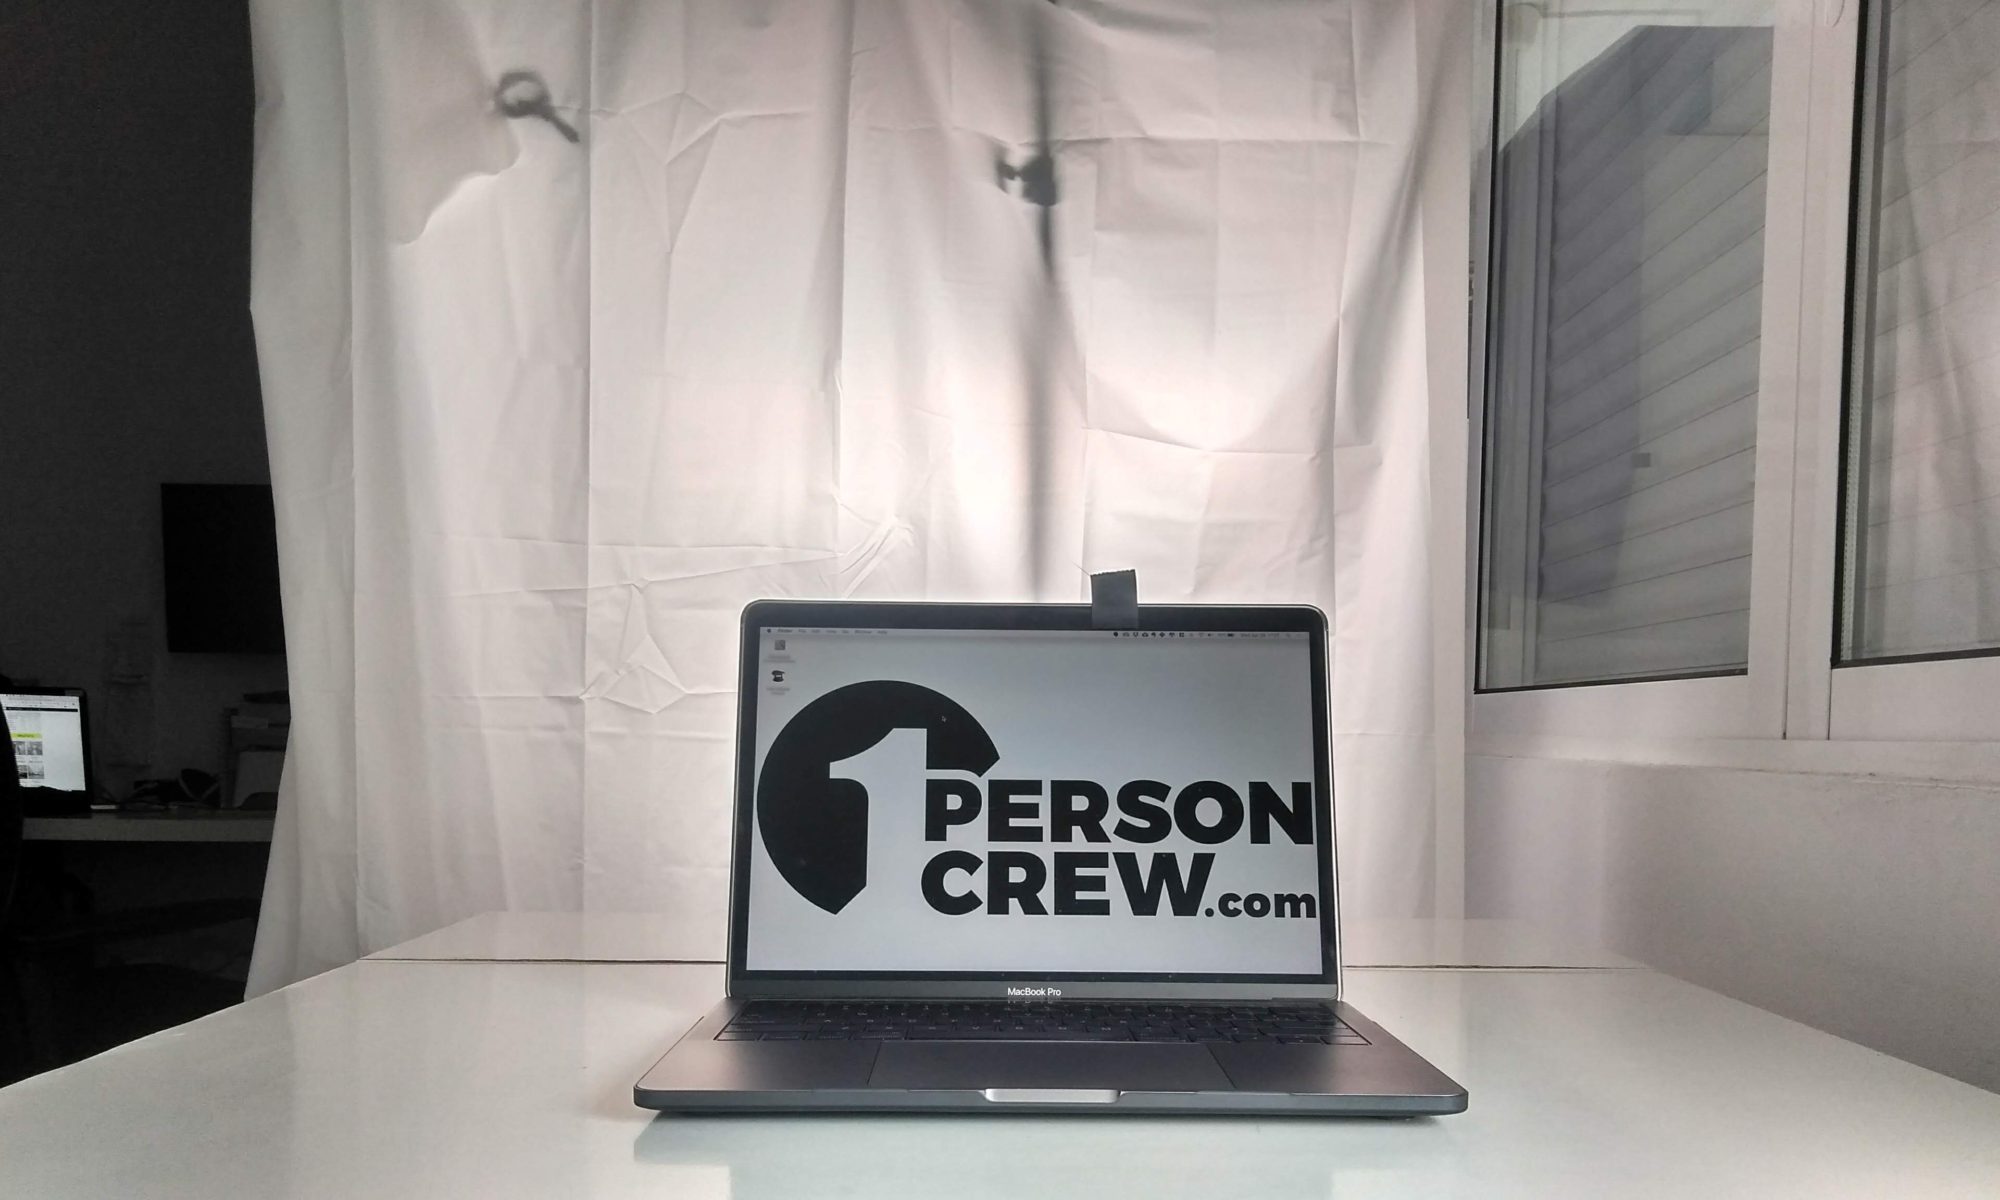
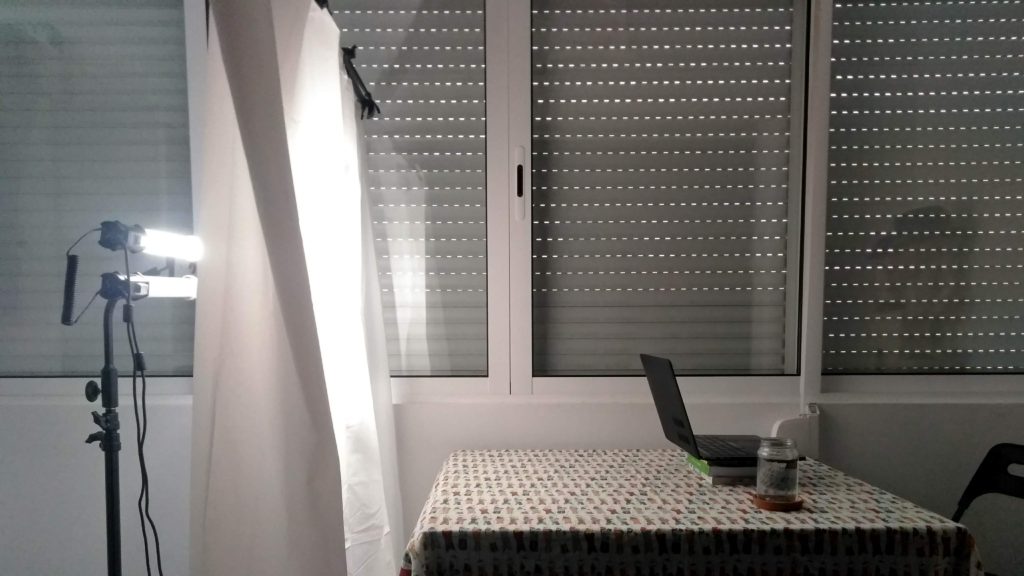
My weapon of choice for very quick setups is a couple of NanLite PavoTube 15C. These beauties are incredible: Dimmable from 0% to 100%, adjustable color temperature from 6500-2700K, super light and durable AND they come with a built-in battery so I can use them on location. This handy “Gooseneck mount” allows you to have two lights on one stand, which saves set up time and space.
The lights come with all the necessary accessories, but we need a couple of light stands, a crossbar for the shower curtain (also at Ikea), and a super clamp to hold the crossbar.
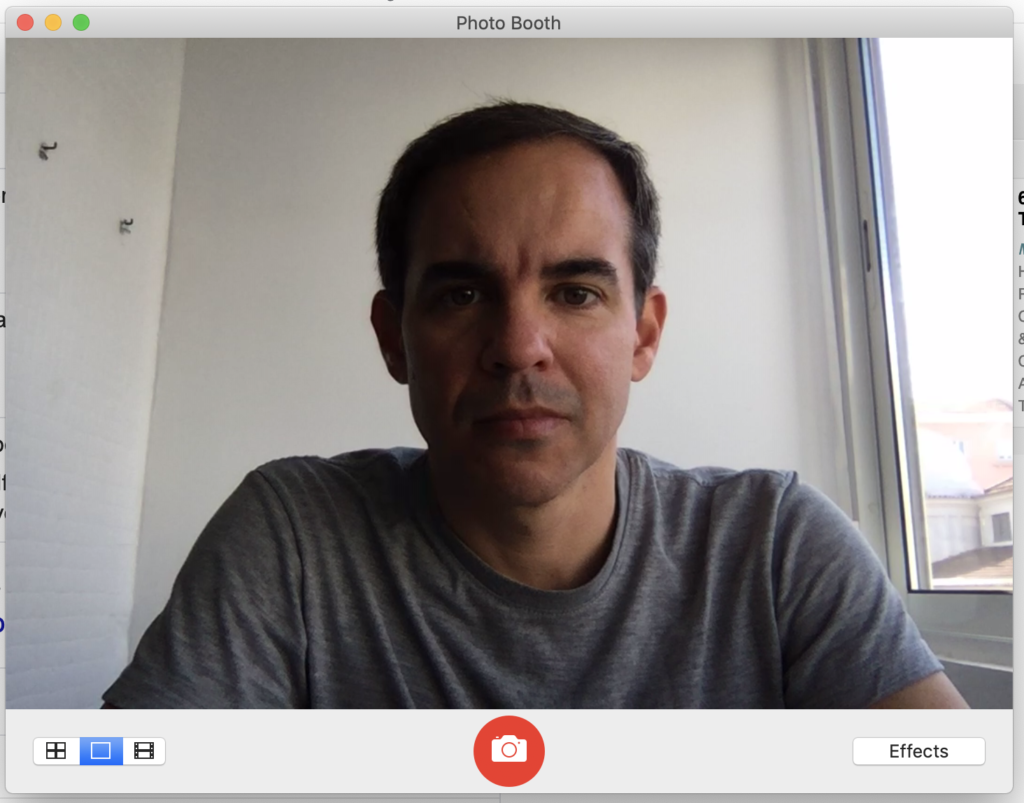
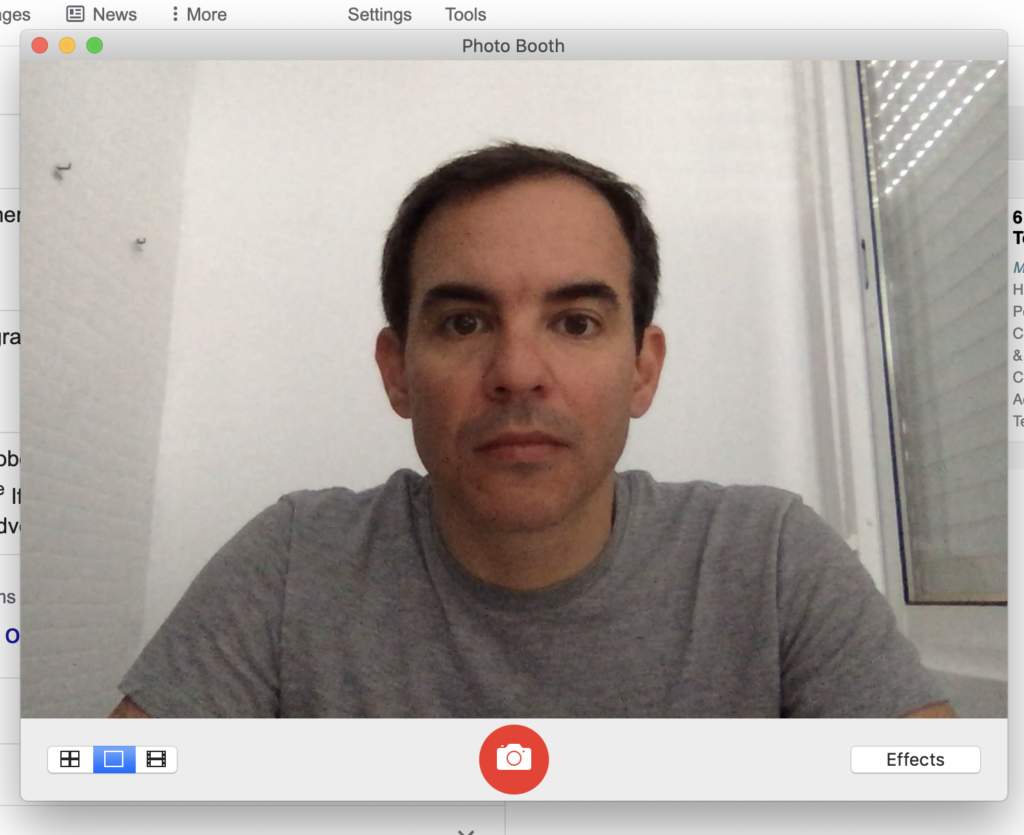
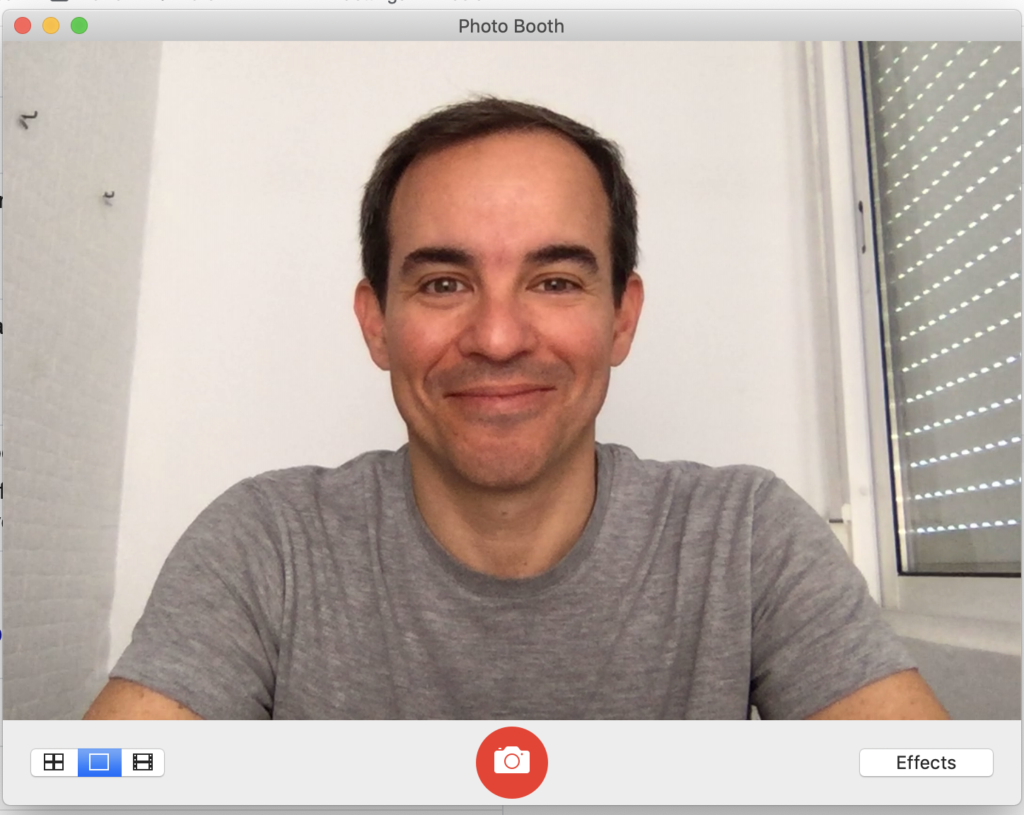
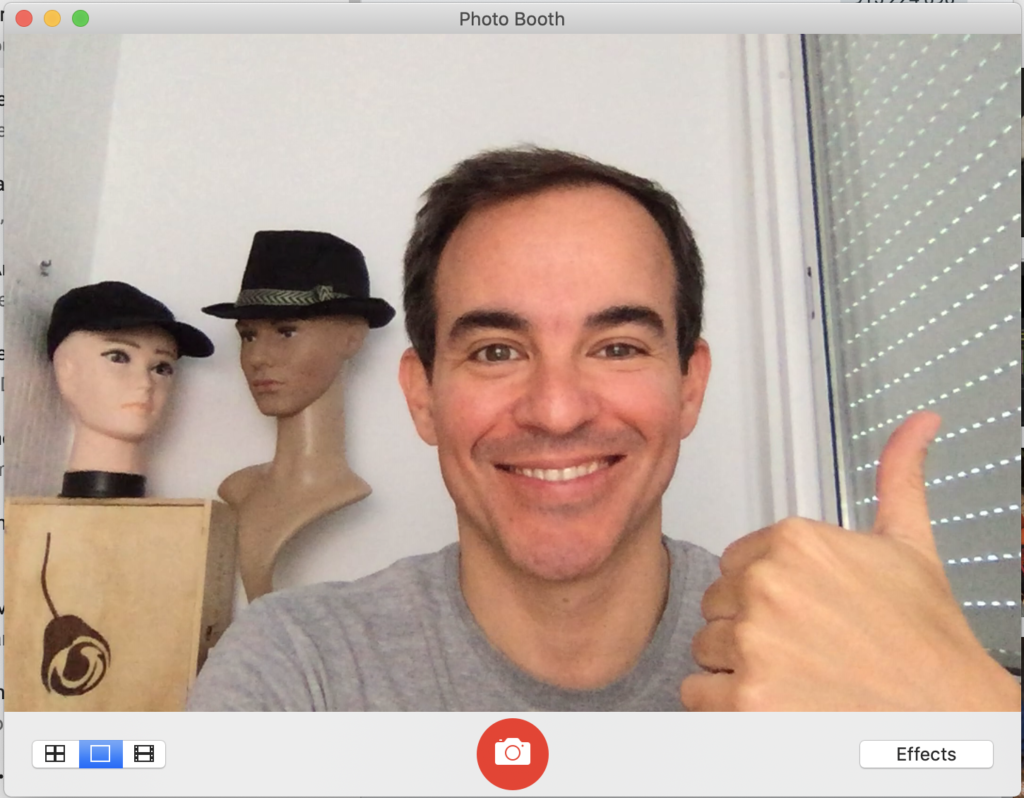
To test your light and framing, simply open the app everybody has and nobody has ever used: Photo Booth. Add some props to the background, good headphones with a built-in mic, a glass of water (or depending of the time, an adult beverage) and you are all set to go!
Window light is great sometimes, but it changes all the time and can create too much contrast, especially for a webcam.
Closing a few windows kinda works during the day, but not at night.
Two lights, one shower curtain.
Increase the height of your laptop/camera with some books, and don’t forget the props!
Simple lighting techniques for web meetings.
An added benefit of this simple set up is that it’s very easy to move when not in used, or during meal times in our case. =)