I’m very thankful with Benro for putting together a webinar to discuss the 1PersonCrew Approach. The host was my dear friend Matt Hill, who is not only an awesome guy, but also a multi-talented artist in his own right. Matt’s project with handmade paper dresses and long-exposure portraiture is jaw-dropping.
I hope attendees found the webinar fun and and helpful. In case you missed it (or want to rewatch it) here’s the full recording. Feel free to leave comments and questions below, or hit me on Instagram.
For obvious reasons everybody is spending a vast amount of time everyday on Zoom / Meet / Skype / Hangouts / FaceTime / fill in the blank.
And for obvious reasons I’ve been getting a lot of emails that roughly ask the same question “My lighting sucks, I look like a monkey (guys), I look fat (girls), what can I do?”
Well, here’s my 1 Person Crew approach in 5 steps:
Most people choose a spot next to, or worse, in front of a window. I’d suggest picking a location where you can control the amount and quality of the light, so it is the same for your 7AM meeting with Australia and the 10PM meeting with San Francisco. This is especially important for situations where lighting continuity is important, for example if you are creating educational content, webinars, or long interviews.
Under normal circumstances, people look better under soft light. “Soft” means that the light “wraps” around the contours of the subject, making the shadows indistinct and gradual in falloff. There are many ways to create soft light, but the easiest and quickest is to diffuse it using professional tools or an Ikea shower curtain for the unbeatable price of $1.99. Bonus Tip: Place the diffusion material as close as possible to the subject as possible, without getting in the frame. With a laptop this is not an issue.
My weapon of choice for very quick setups is a couple of NanLite PavoTube 15C. These beauties are incredible: Dimmable from 0% to 100%, adjustable color temperature from 6500-2700K, super light and durable AND they come with a built-in battery so I can use them on location. This handy “Gooseneck mount” allows you to have two lights on one stand, which saves set up time and space.
The lights come with all the necessary accessories, but we need a couple of light stands, a crossbar for the shower curtain (also at Ikea), and a super clamp to hold the crossbar.
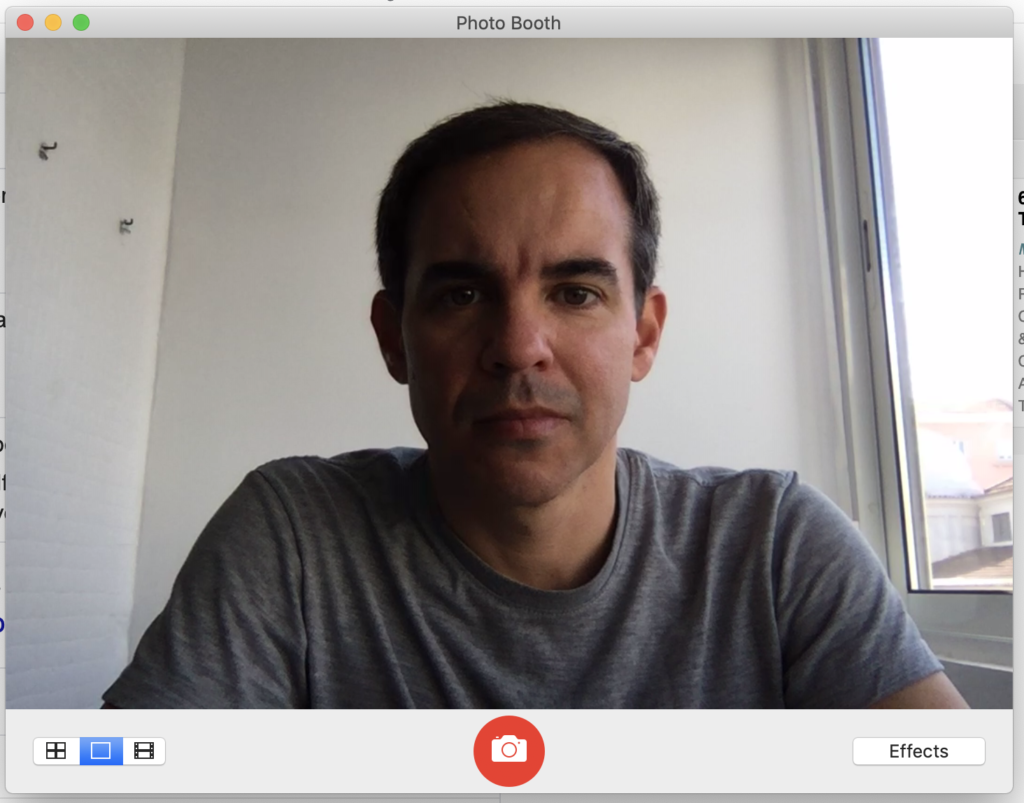
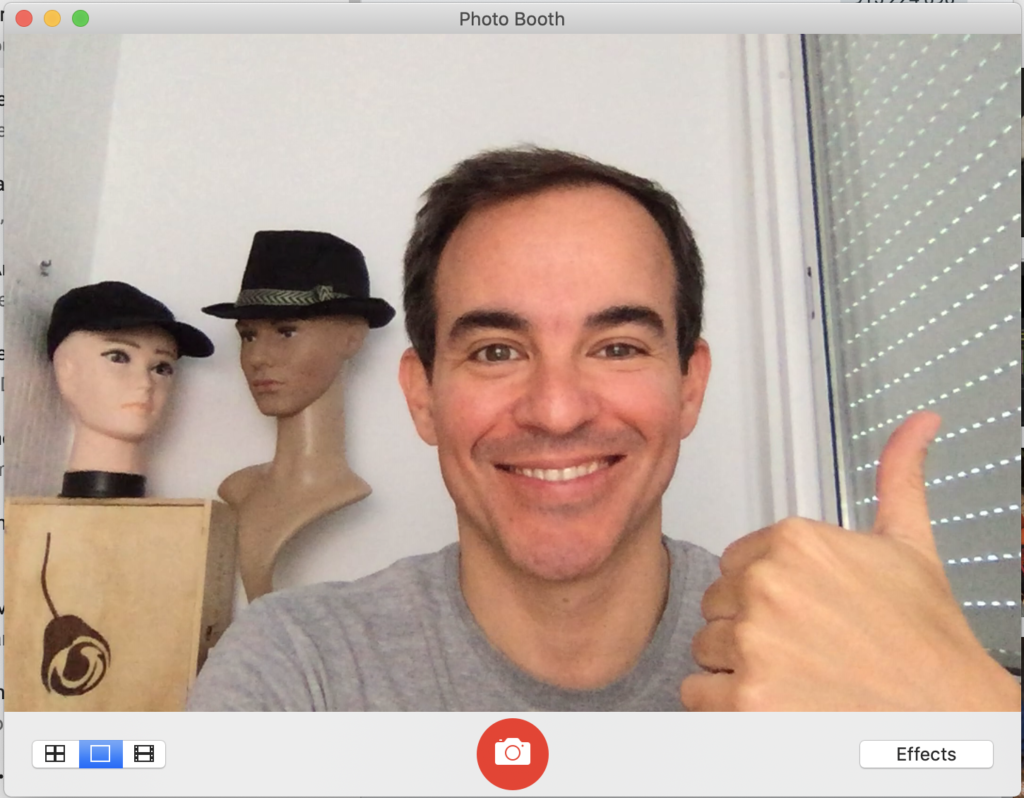
To test your light and framing, simply open the app everybody has and nobody has ever used: Photo Booth. Add some props to the background, good headphones with a built-in mic, a glass of water (or depending of the time, an adult beverage) and you are all set to go!
Window light is great sometimes, but it changes all the time and can create too much contrast, especially for a webcam.
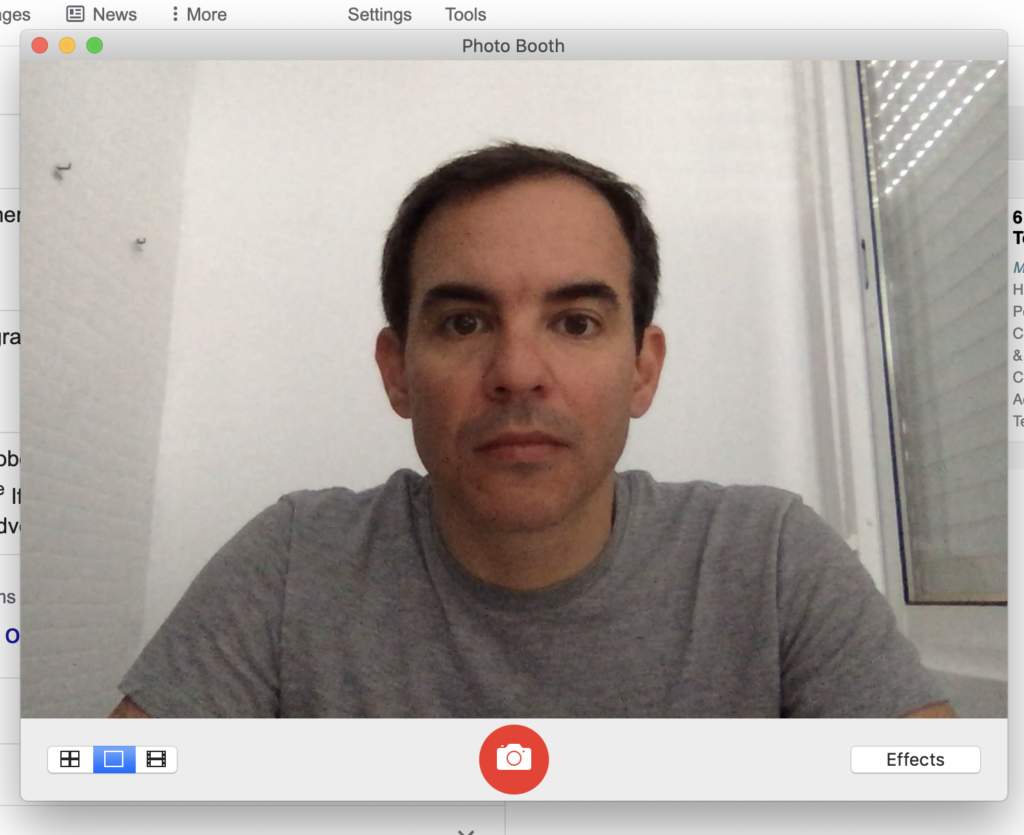
Closing a few windows kinda works during the day, but not at night.
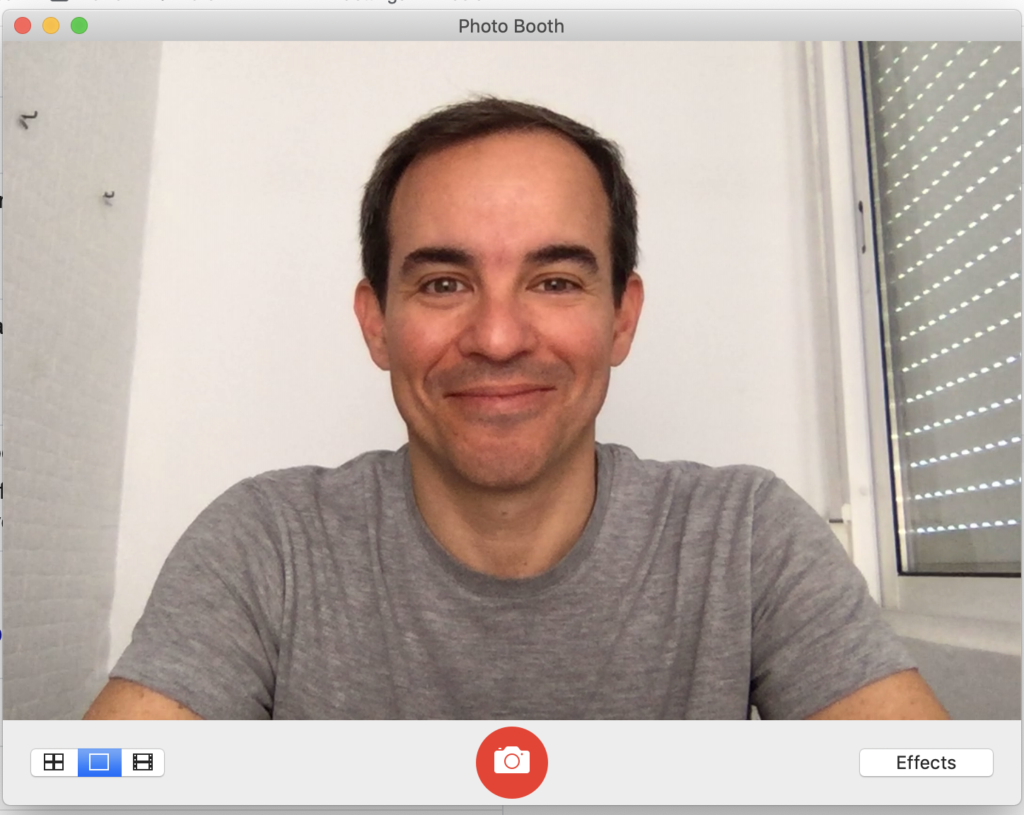
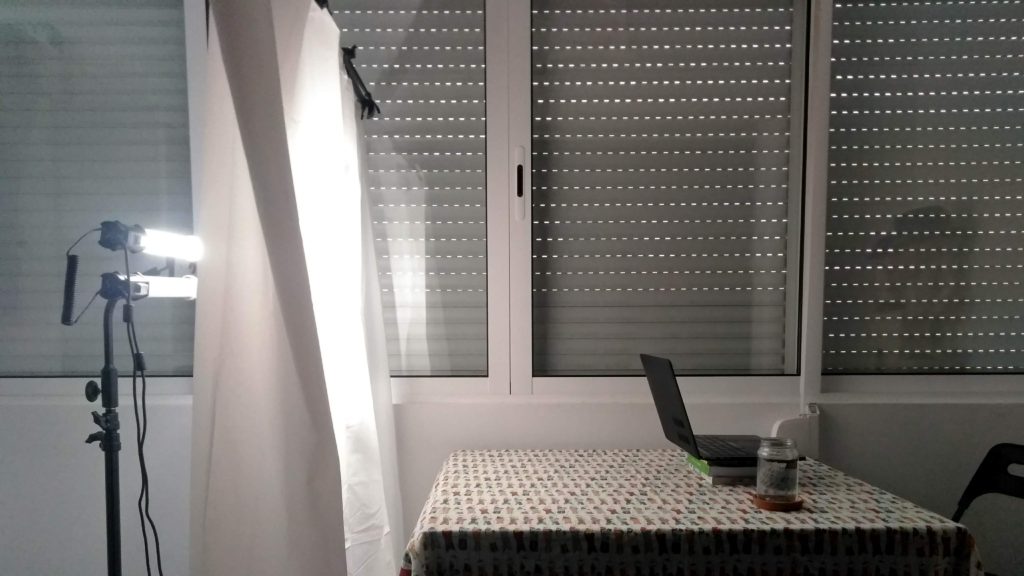
Two lights, one shower curtain.
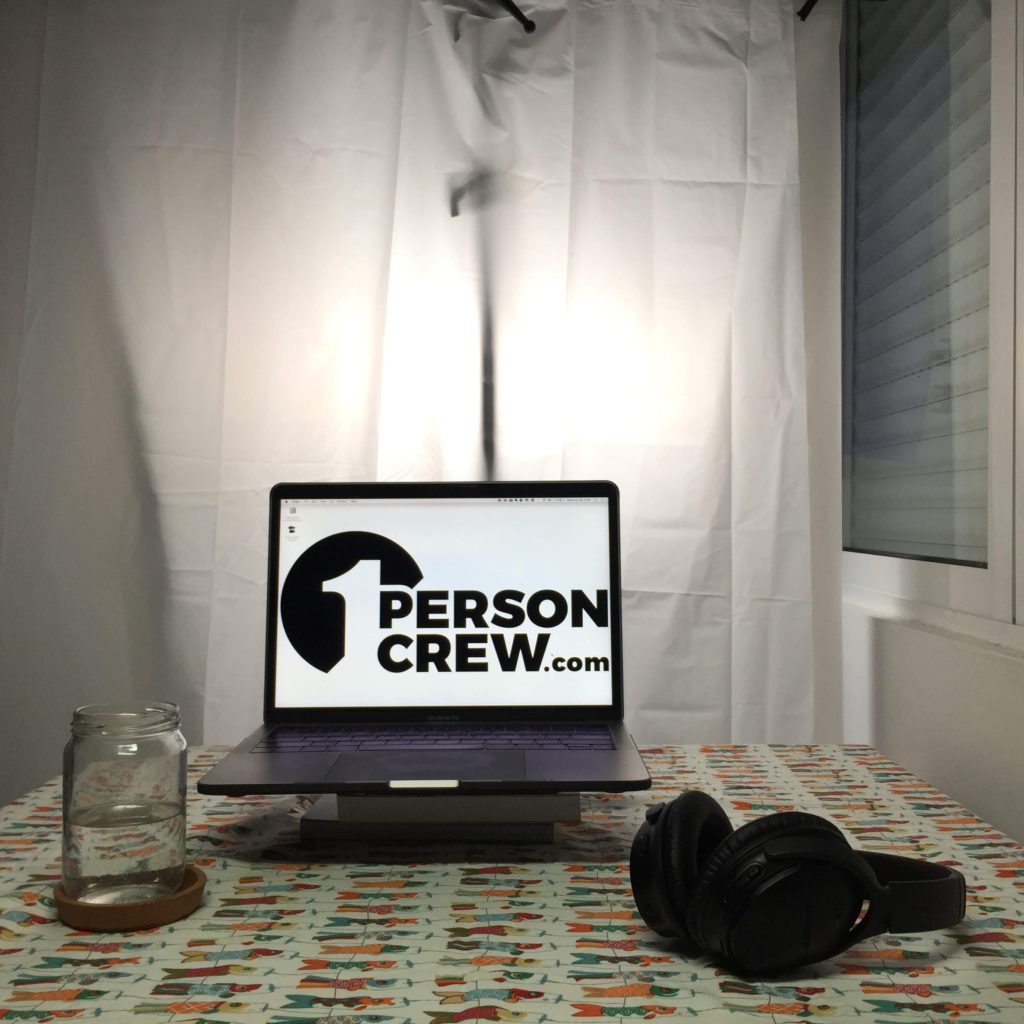
Increase the height of your laptop/camera with some books, and don’t forget the props!
Simple lighting techniques for web meetings.
An added benefit of this simple set up is that it’s very easy to move when not in used, or during meal times in our case. =)