Last week we talked about the differences between Video Codecs, and more specifically about the advantages and disadvantages between ALL-I and IPB.
DISCLAIMER This article is not paid or sponsored by anyone. It reflects my own independent opinion. I only recommend companies and products that I trust. Some links might be affiliates, which means I may get a few pennies if you decide to purchase something. Thanks in advance for your support!
Audio File Formats
Since last week’s post I’ve received several questions about audio formats. Instead of rewriting what has been already done well, I’ll direct you to an article by Izotope, which is in my humble opinion the provider of best audio plugins in the market.
The article covers the differences between wav, aiff, mp3, and m4a, which is pretty much all we need to know as filmmakers.
Audio Gear
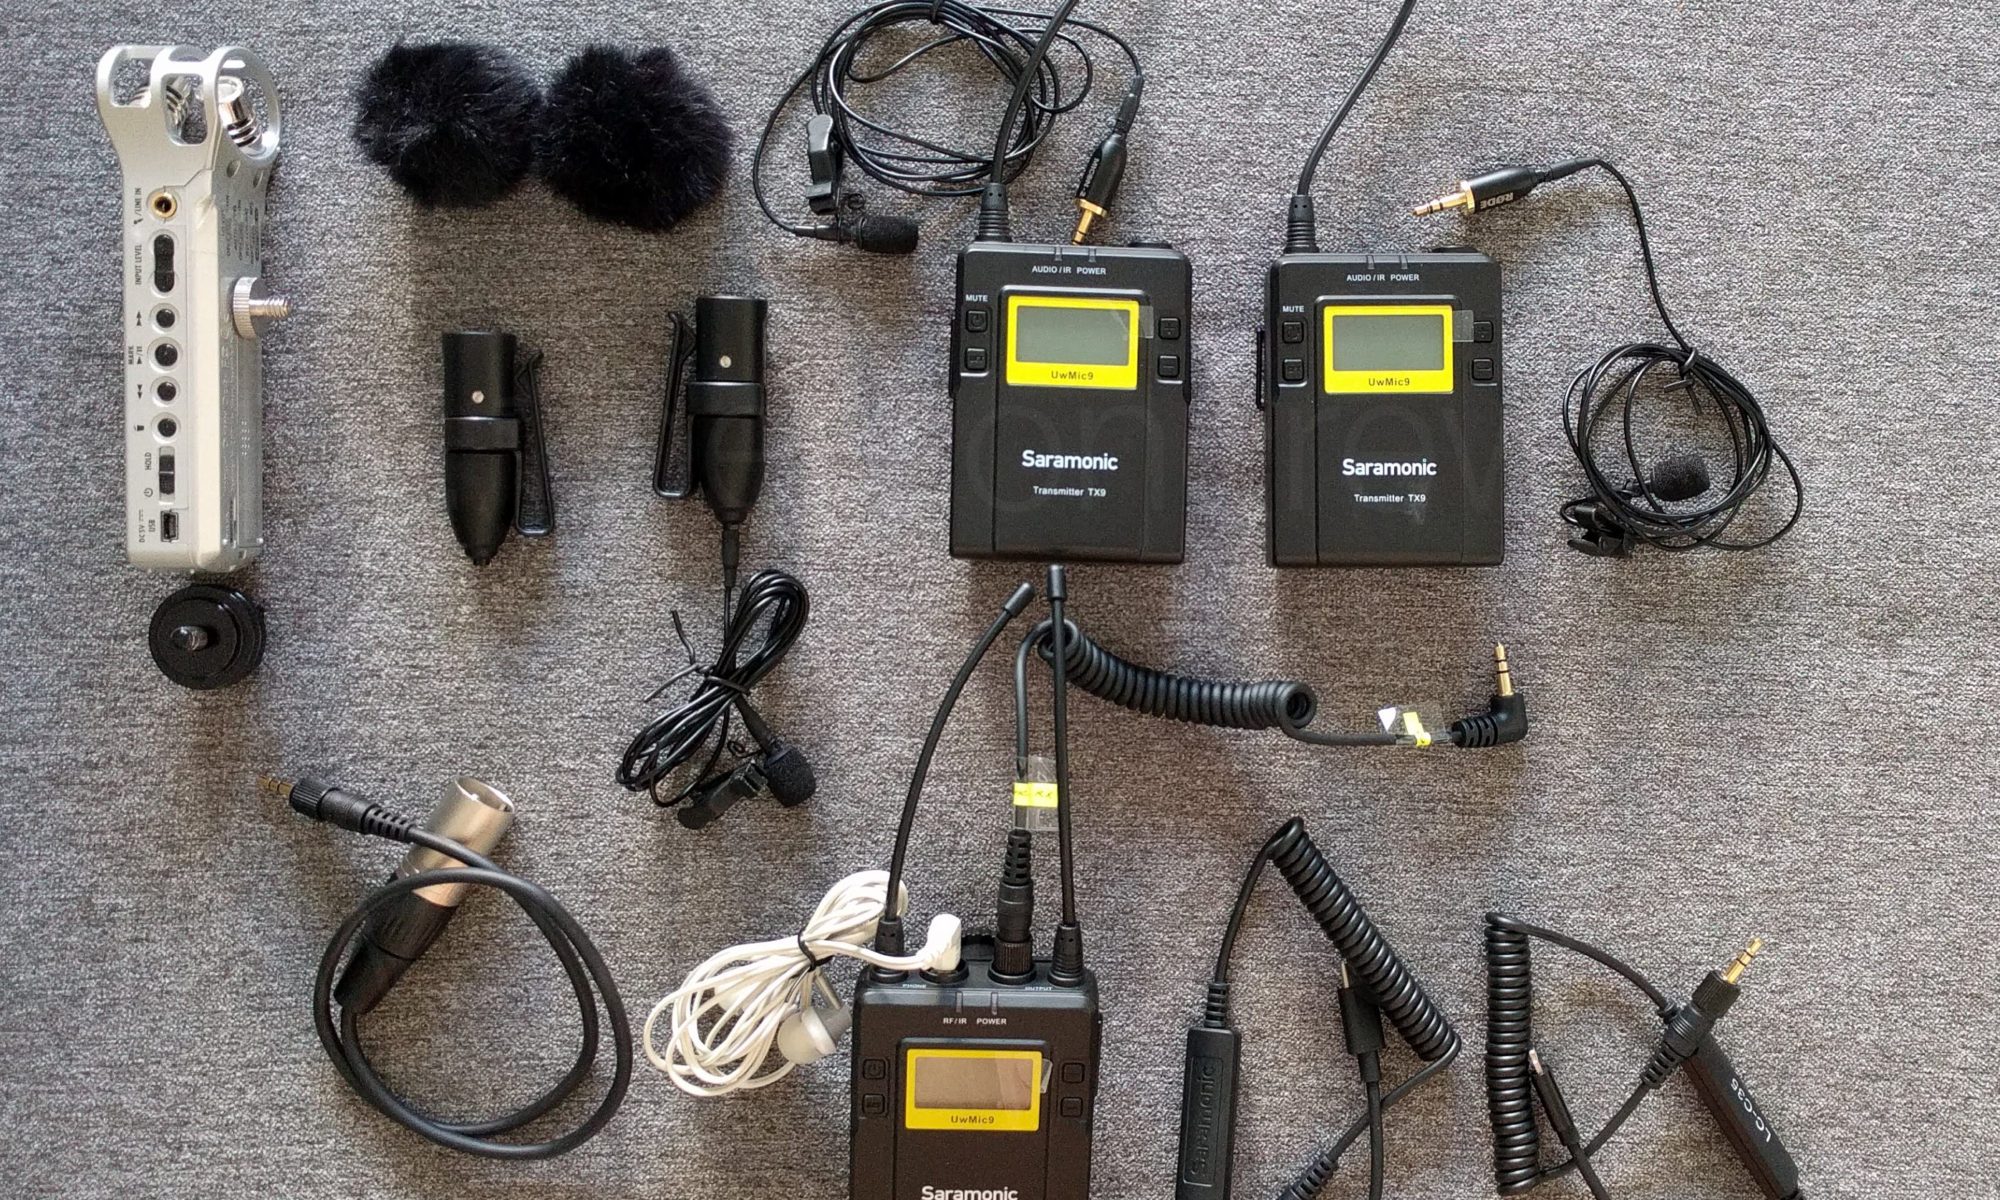
Lots of folks have also been asking about “the most minimalist audio kit” I’d suggest.
Here it is: a wireless system, an audio field recorder, and extra mic that can doble as on-camera shotgun mic or boom mic, a couple of XLR cables (always bring backup cables), and enough rechargeable batteries to have a fully charged backup at all times. The H4n Pro is specially power hungry, so I’d strongly suggest getting the kit with the AC adapter.
I added one more item that is nice to have, but nor essential; the Rycote Undercovers, which allow you to “stick” a lavalier mic to a subject over or under their clothes. Much more useful than you would think.
“Cinematic camera movement seems too daunting. Where do I start?” I’ve heard endless variations of this comment.
Part of the problem is that there are too many techniques with confusing names, and lots of tools that achieve seemingly similar things. A bigger problem is that as a one-person crew our plate is pretty full with checking the proper exposure, making sure the image is sharp, directing, asking questions, monitoring audio, etc. Do we really have to worry about moving the camera? The short answer is yes.
Let’s get this out of the way; it is entirely possible to shoot good videos without any camera movement. But we would be overlooking a powerful resource. I truly believe that understanding when and how to move the camera can go a long way to enhance our video productions and infuse them with a more “cinematic” style. Let’s go over the most common options and briefly discuss their advantages and disadvantages.
Handheld
Handholding the camera is by far the easiest option. There’s no need for additional support gear, it takes almost zero time to set up or break down, and it is very quick and easy to reframe. When used properly, intentional handheld movement can infuse a shot with urgency and tension, something we typically see in war and action films, reality TV shows, and many documentaries.
A clear disadvantage of handholding the camera is that footage that seems “pretty steady” on a tiny monitor often proves unusable when watched on a larger screen. Another challenge is that even if I’m working with a small camera package, after a few hours of work my arms and back are completely exhausted. A more serious consideration is that even with an audience visually educated by YouTube, unintentional shake can make our videos appear amateurish to many viewers.
Handholding the camera and shooting at 120 frames per second.
Monopods
A relatively inexpensive and very powerful tool is a professional video monopod. By professional I mean that it should offer good payload capacity, counterbalance, a 3-leg base, smooth panning and tilting, and a universal quick release plate. It might be just me, but the quick release plate tends to disappear every other assignment.
A huge technical advantage of monopods is that we can mimic a lot of movements typically achieved with much bigger and heavier tools like sliders, jibs, dollies, and cranes, but monopods weigh very little and some can be packed in a carry-on bag. When combined with a versatile zoom lens and a shotgun mic, a monopod setup can go a long way.
Using a monopod in unusual ways can lead to interesting shots.
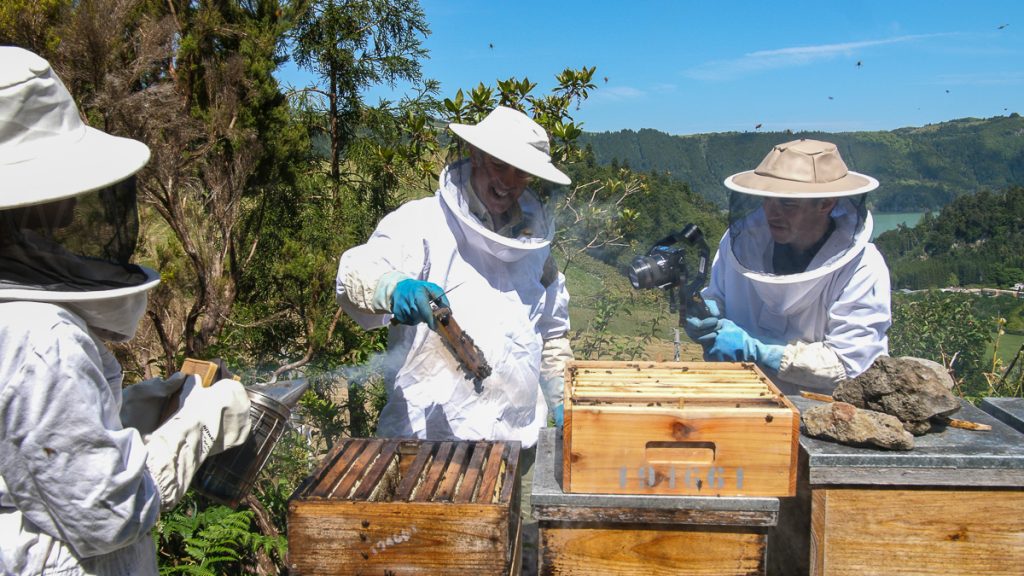
Gimbals
Gimbals have significantly improved my skills as a filmmaker. Small, very portable, battery operated, and relatively simple to set up and use, gimbals have freed me to expand my camera movement lexicon. They allow me to move with or around an actor and add kinetic energy to otherwise static subjects, such as buildings or trees. Gimbals give me the freedom of shooting handheld while keeping my shot perfectly stable, eliminating distracting or unwanted shake.
Of course, there are disadvantages, mainly that gimbals need to be perfectly balanced, and with anything that is added to or removed from the camera package, a new setup is in order. This is why when shooting with gimbals I prefer to use a very small camera and a fixed wide-angle lens and a wireless mic. Zoom lenses tend to be bulkier and if the focal length changes I might need to rebalance.
Gimbals allow us to get very close to a subject, and quickly explore multiple compositions.
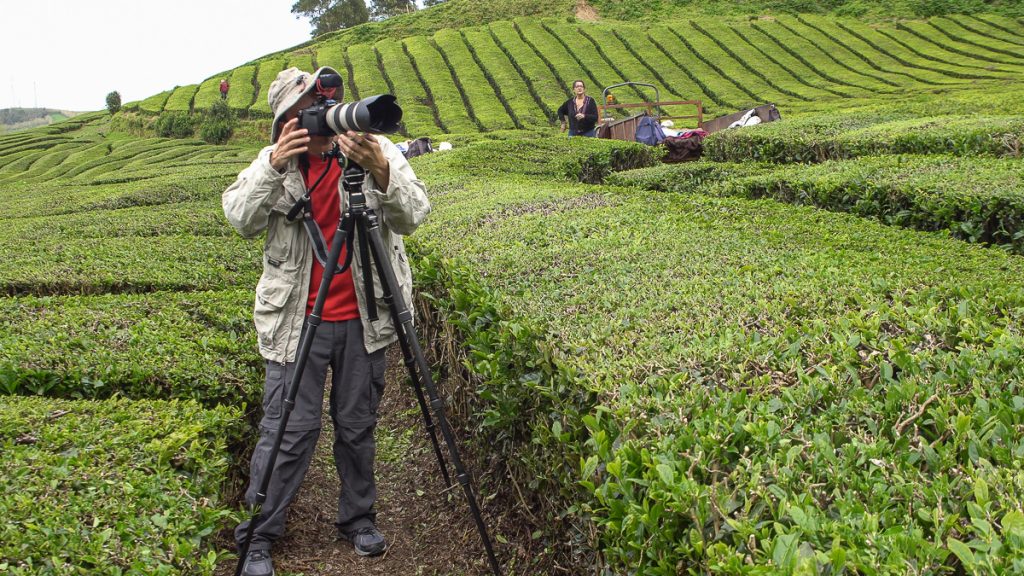
Tripods
The good ol’ tripod is a wonderfully versatile tool, but I can’t afford to carry a 50-pound state-of-the-art tripod with me, just in case I need it. In addition to the weight limitation, I often shoot in very tight places, and most tripods need a considerable amount of space to set up. Luckily we now have access to tripods that are extremely compact and light.
A solid video tripod is ideal for very smooth pans and tilts. Do you need to rehearse and repeat the same motion? Do you need to time the actor’s movement? Do you need to hit precise marks? Then you need a tripod. Also, would I shoot a long interview with a fully rigged camera handheld, on a monopod or with a gimbal? Of course not, that’s what a tripod is for!
The good ol’ tripod is a very versatile tool.
Other Tools
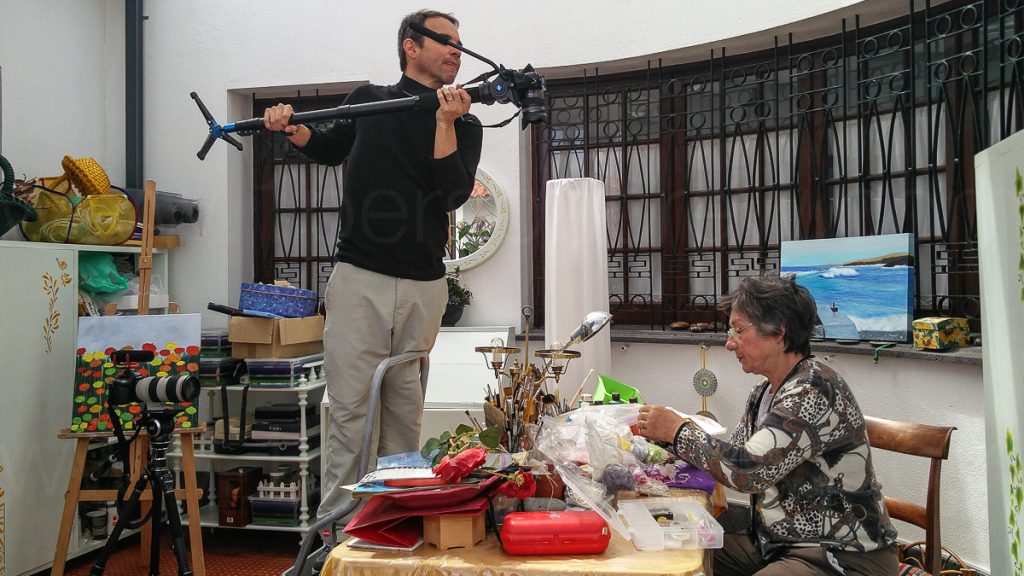
The fourth and last tool (in this post) is called an “EasyRig.” It looks similar to a Steadicam vest, and on paper it sounds like a great setup for run and gun projects where the shots are hard or impossible to predict, the subject is moving continuously, and where extended shooting times are required. The perfect example would be shooting behind the scenes coverage on any of my projects. The “easy rig” looks too bulky and heavy for a one-person crew, but I’m definitely open to giving it a shot on future assignments.
On upcoming posts we’ll explore other tools and techniques, including the best jibs and sliders for a one person crew.
Conclusion
Camera movement is a lot more than following a character or capturing the action. And obviously, no single camera movement technique or tool will represent a specific feeling or message. Everything depends on the story and its context.
My advice is to learn as much as possible about camera movement, but NOT to incorporate movement just because we have a new tool; rather, understand and appreciate the dramatic effects of each type of movement and how it can enhance our stories.
DISCLAIMER This article is not paid or sponsored by anyone. It reflects my own independent opinion. I only recommend companies and products that I trust. Some links might be affiliates, which means I may get a few pennies if you decide to purchase something. Thanks in advance for your support!
For obvious reasons everybody is spending a vast amount of time everyday on Zoom / Meet / Skype / Hangouts / FaceTime / fill in the blank.
And for obvious reasons I’ve been getting a lot of emails that roughly ask the same question “My lighting sucks, I look like a monkey (guys), I look fat (girls), what can I do?”
Well, here’s my 1 Person Crew approach in 5 steps:
Most people choose a spot next to, or worse, in front of a window. I’d suggest picking a location where you can control the amount and quality of the light, so it is the same for your 7AM meeting with Australia and the 10PM meeting with San Francisco. This is especially important for situations where lighting continuity is important, for example if you are creating educational content, webinars, or long interviews.
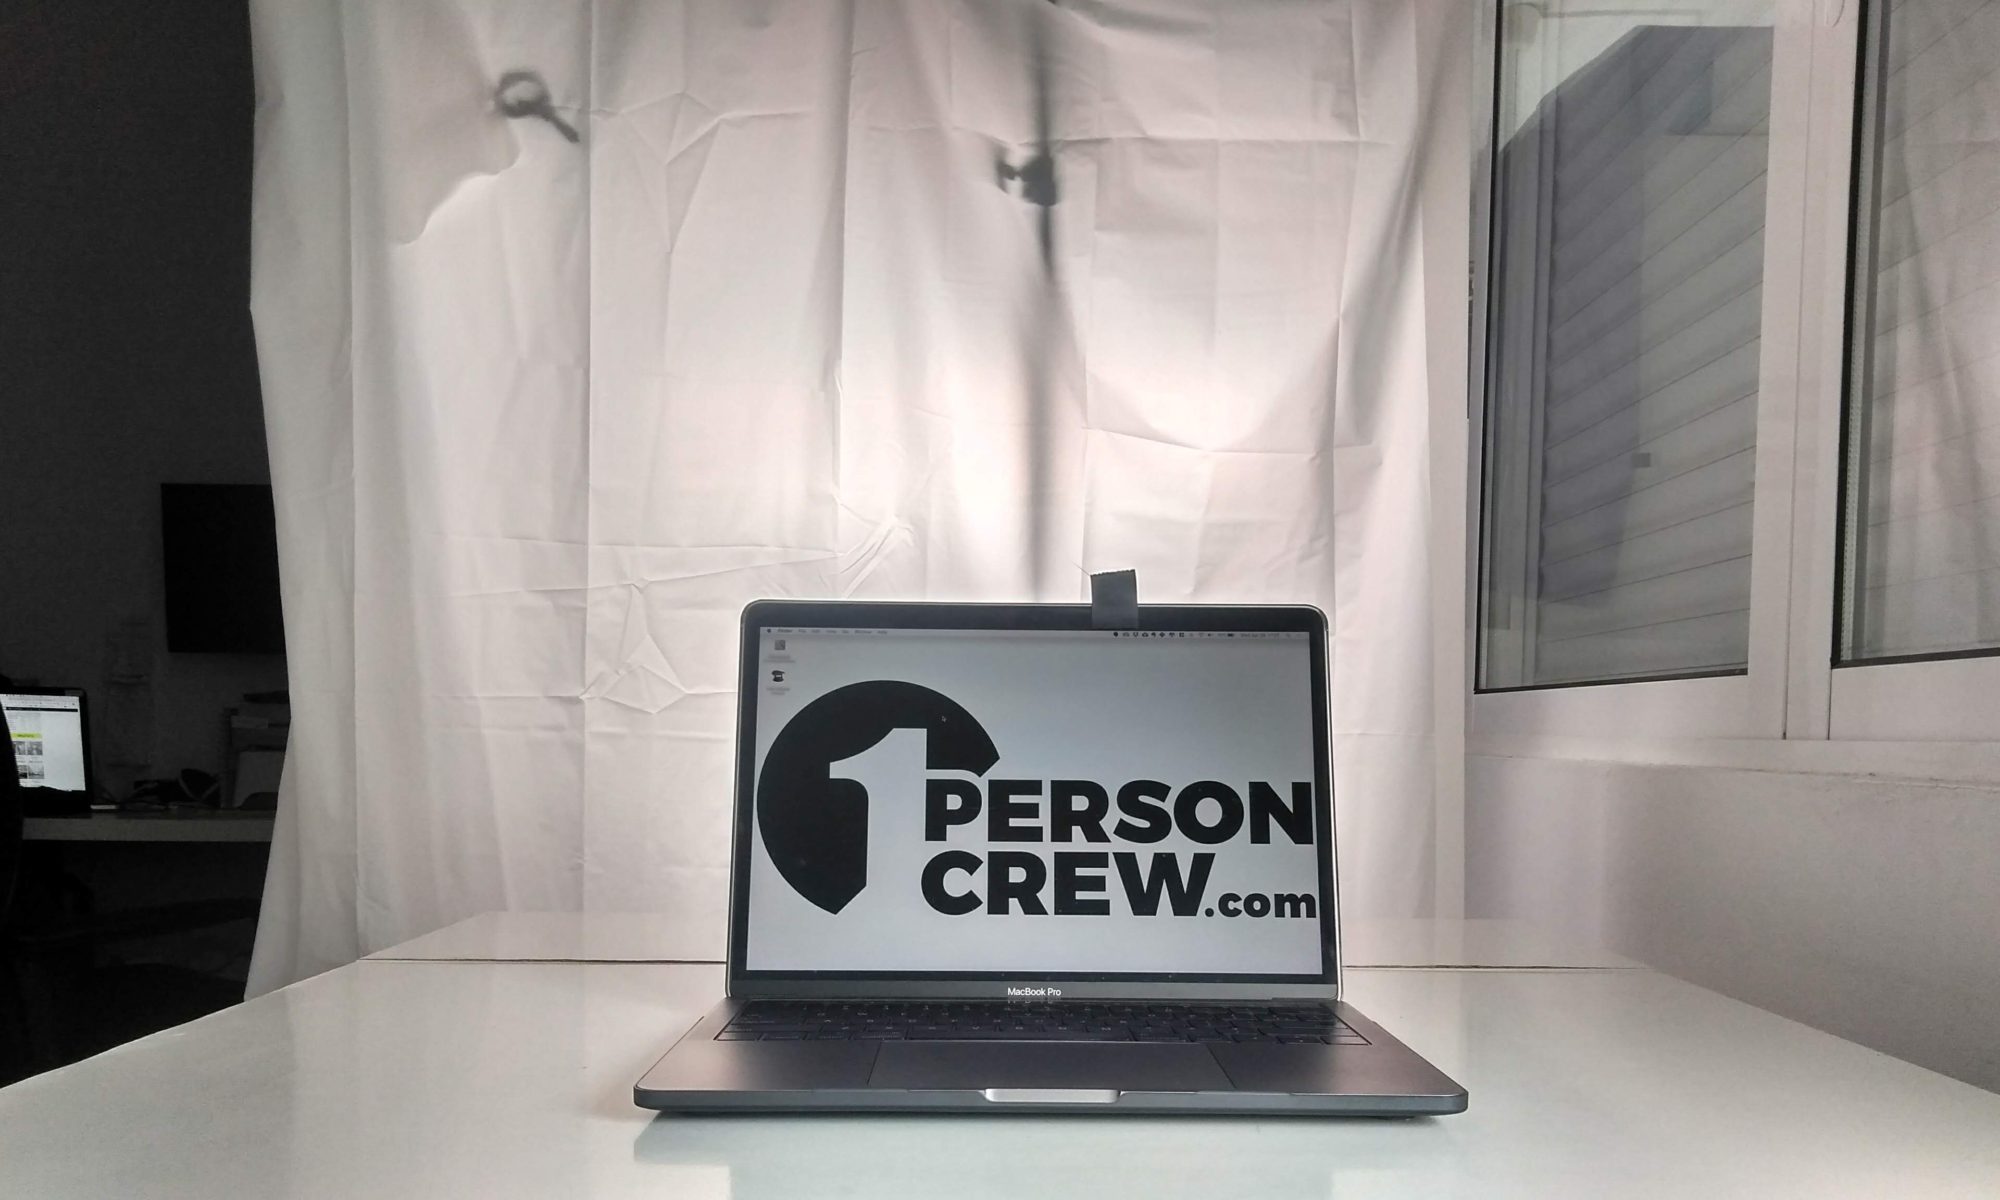
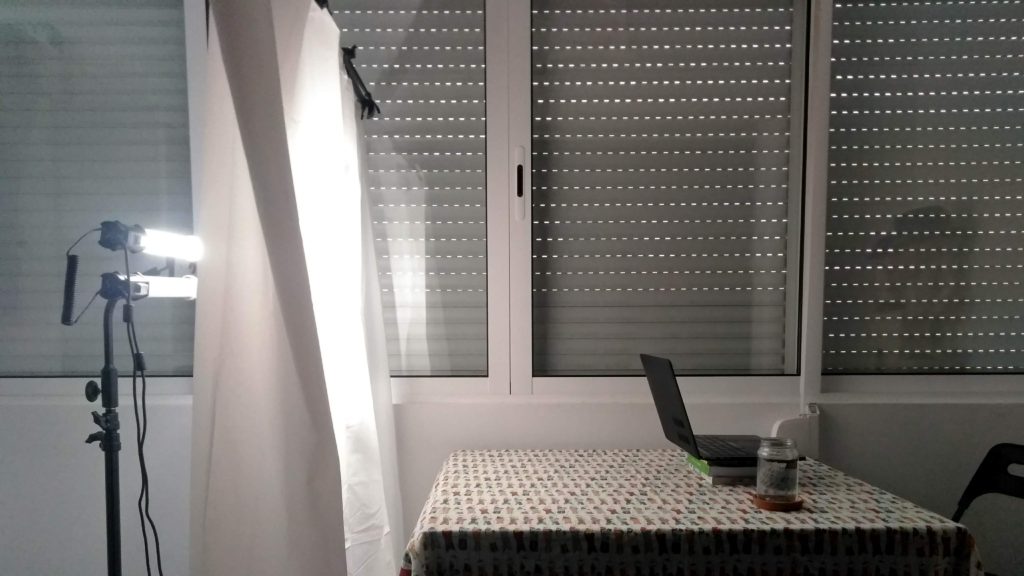
Under normal circumstances, people look better under soft light. “Soft” means that the light “wraps” around the contours of the subject, making the shadows indistinct and gradual in falloff. There are many ways to create soft light, but the easiest and quickest is to diffuse it using professional tools or an Ikea shower curtain for the unbeatable price of $1.99. Bonus Tip: Place the diffusion material as close as possible to the subject as possible, without getting in the frame. With a laptop this is not an issue.
My weapon of choice for very quick setups is a couple of NanLite PavoTube 15C. These beauties are incredible: Dimmable from 0% to 100%, adjustable color temperature from 6500-2700K, super light and durable AND they come with a built-in battery so I can use them on location. This handy “Gooseneck mount” allows you to have two lights on one stand, which saves set up time and space.
The lights come with all the necessary accessories, but we need a couple of light stands, a crossbar for the shower curtain (also at Ikea), and a super clamp to hold the crossbar.
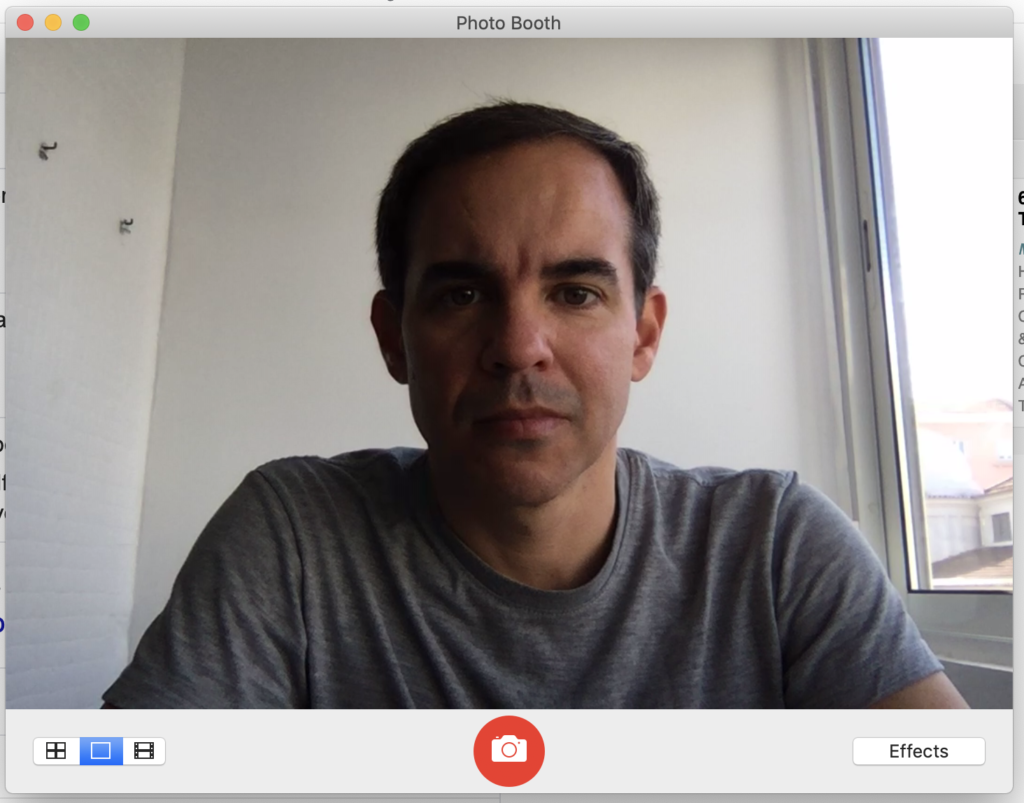
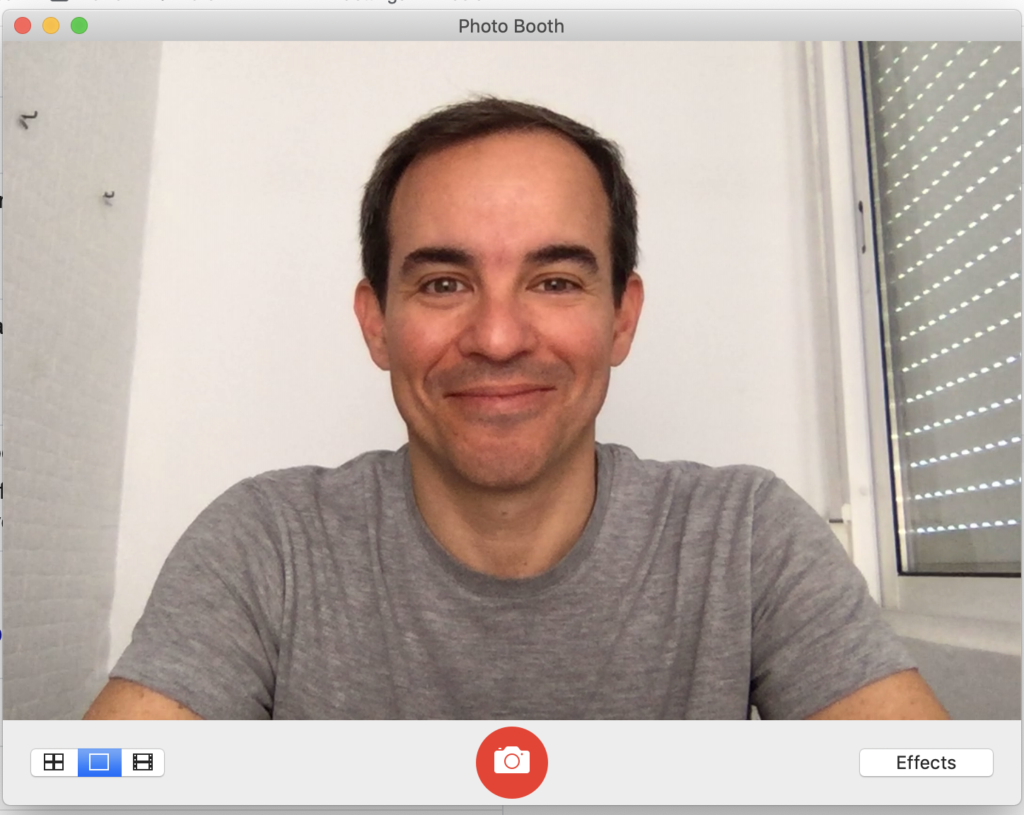
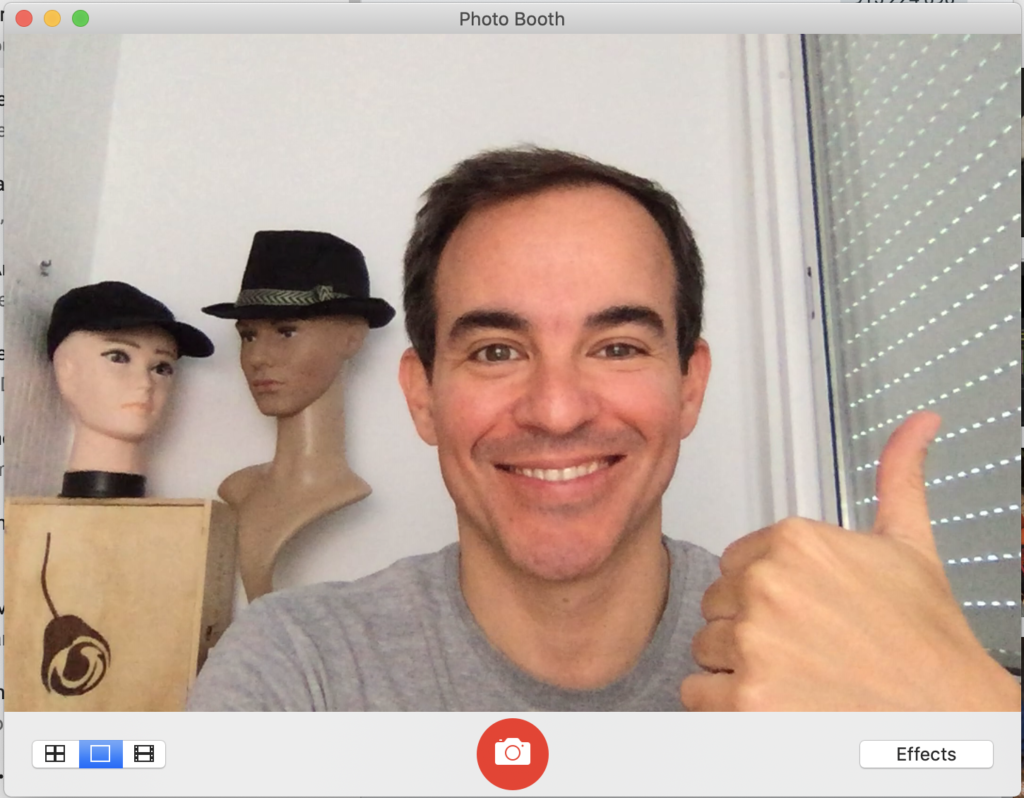
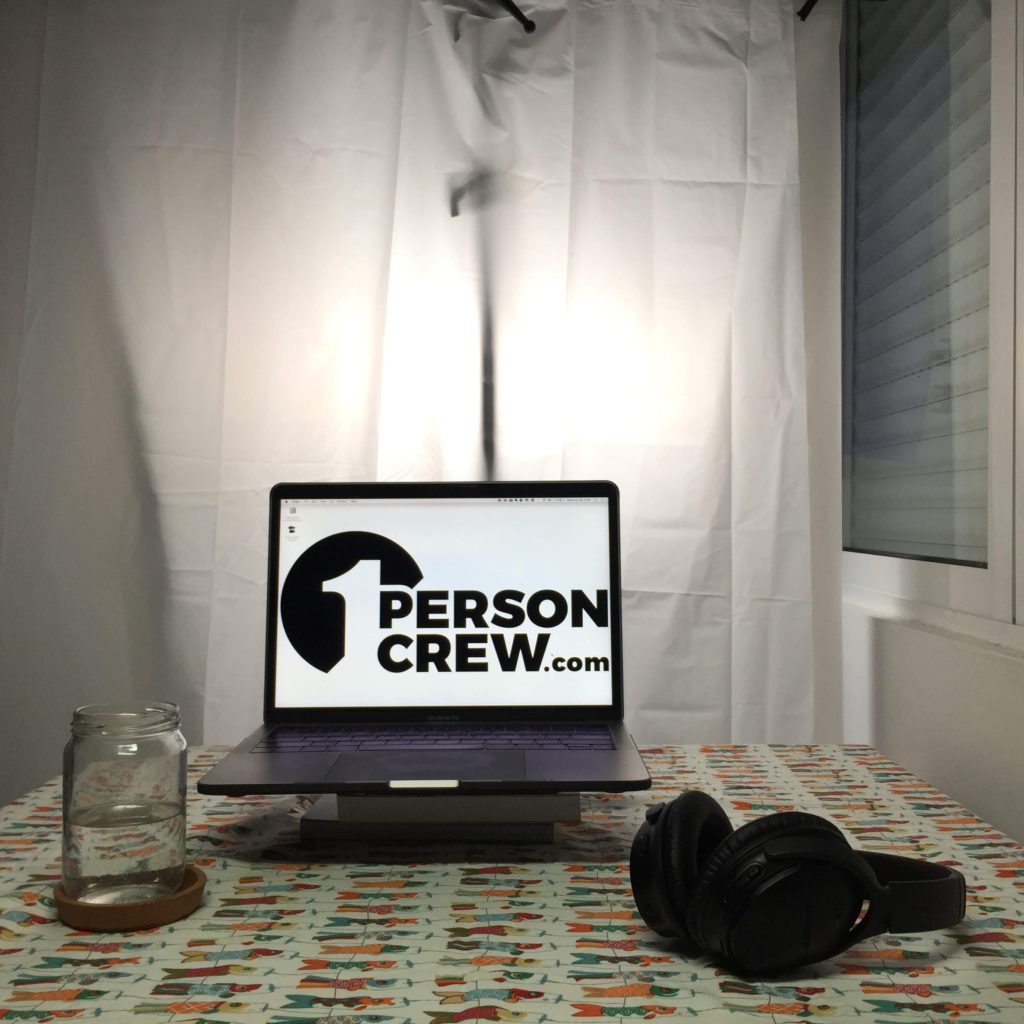
To test your light and framing, simply open the app everybody has and nobody has ever used: Photo Booth. Add some props to the background, good headphones with a built-in mic, a glass of water (or depending of the time, an adult beverage) and you are all set to go!
Window light is great sometimes, but it changes all the time and can create too much contrast, especially for a webcam.
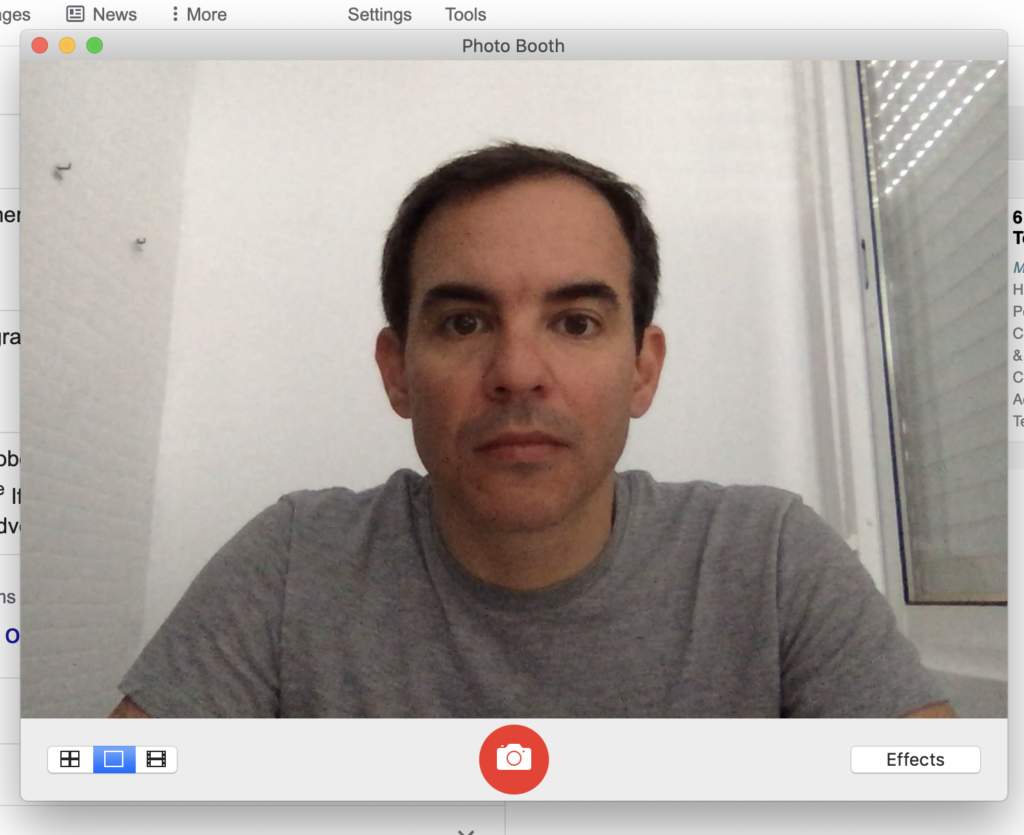
Closing a few windows kinda works during the day, but not at night.
Two lights, one shower curtain.
Increase the height of your laptop/camera with some books, and don’t forget the props!
Simple lighting techniques for web meetings.
An added benefit of this simple set up is that it’s very easy to move when not in used, or during meal times in our case. =)
Experience a post-production workflow that is far from traditional, but is extremely efficient and logical. Recommended hardware, software and apps, batch renaming, 4K Proxy workflow, GPS tagging, the correct steps to color correct and grade footage, and even how to safely back-up and archive your projects.
Learn the entire pre-production workflow, from brainstorming to asset allocation all the way to actually pre-shooting your project. This course is geared to filmmakers working with small crews, but it offers essential lessons and resources for all content creators.
This is your chance to join an Emmy Award-winning filmmaker on location! Get a unique view, from concept to delivery, and experience how to capture stills, video, and sounds to produce a commercial for a boutique winery in beautiful Oregon.
Expand your creative options and the range of services you can offer to clients by incorporating video and hybrid projects into your new 2020 skill set.
Learn highly effective and time-saving techniques to produce compelling lighting for corporate videos, documentaries, short films, educational content and anything that requires harvesting available light and the use of practicals.
Composition is one of the least understood yet most important aspects of cinema. Using a wide variety of examples, Emmy Award-winning Director of Photography Eduardo Angel breaks down effective cinematic composition, shares his favorite compositional effects and techniques and even covers how and when to successfully break well established rules.